Using Lulu’s Book Cover Designer
Authors and creators of all sorts have asked us over and over for an easier way to design a book cover. We heard you. That’s why we’re so excited to present this new cover design tool!
If you’re already a designer or familiar with design software, a book cover template is probably all you need. But for the rest of us–anyone making a book as a gift, to sell in a limited run, or for beta readers–we need a simpler option. Our cover designer simplifies the design process by calculating the spine width and position for you.
What Is the Lulu Book Cover Maker?
It’s exactly what it sounds like–we built a cover designer right on Lulu that you can use to create a cover for your book. Our cover maker works for any of our trim sizes but only for paperback books (the remaining cover/binding types will be added soon!) so you can design your book cover while you publish on Lulu.
If your book’s binding is paperback, you’ll see the option to Create Your Cover.
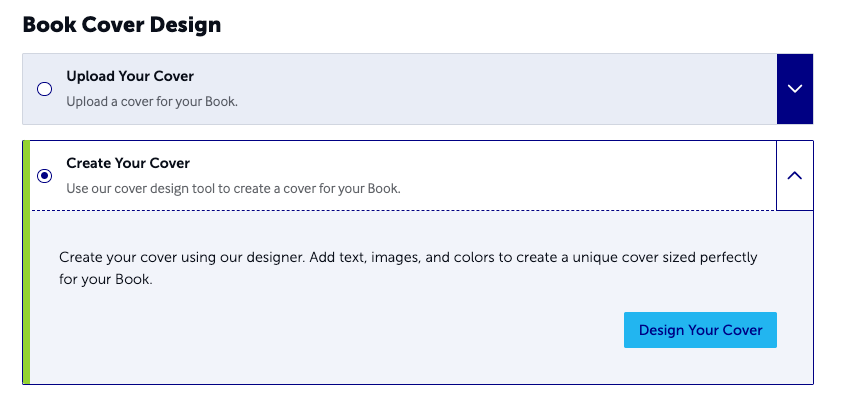
Give that button a click, and you’ll be taken to our custom book cover designer!

Let’s run through the book cover designer features:
- The canvas is sized to match your book’s cover dimensions, and the colored guides show you where the margins, bleed, trim, and spine are.
- These four buttons provide information and control your view of the cover:
- Preview Cover removes the guides to preview the final design
- Shortcuts display an overlay with your keyboard shortcuts (see image)
- Guide toggles the guides on and off
- 100% is your magnification

- Set the background color for your entire cover. This includes the front, back, and spine.
- The left sidebar will update with new options as you work on your cover.
The left sidebar is where all the interesting stuff is. These are the tools and options you’ll use to create your cover design.
Here it is again:

These are the design options you’ll use to create your book cover.
- Templates – Choose a blank canvas or a cover with some elements added.
- Images – Upload your images and add them to your cover.
- Text – Add a text box to the cover. A new options bar will appear with size, color, font, and other options to customize your text.
- Shapes – Add a customizable shape to your cover.
- ISBN – If your book includes a barcode, enter your ISBN information here and we’ll size and add the barcode to your cover.
Use these tools to design your cover!
Lulu’s Cover Creator Video Tutorial
Our video tutorial explains how to use the new Cover Creator to design a custom cover for your next print-on-demand project!
Designing Your Cover
Our cover tool is meant to be simple. To take the complexity out of cover design without limiting your options.
To put it to the test, I used the designer to create a new cover for a personal edition of Moby Dick. First, I’ll get my PDF from Project Gutenberg and edit it to my liking. Then, I’ll create a print project on Lulu, and when I get to the cover design part of the design step, we’ll be ready to make a cover!
Before I design my cover, I browsed some of the designs others have used for Moby Dick’s cover. Unsurprisingly, whales and general nautical themes dominate.
So I went through a few license-free image sites and made a collection of whales, boats, and other ocean-y things. With my assets ready, I returned to my Lulu project, went to Design Your Cover on the Design step, and selected Create Your Cover.
Currently, we offer a single ‘starter’ template you can use to begin your cover. That will be the default cover you see the first time you open the cover designer (the one pictured above with the title The Happy & Healthy You). You can use the template section to select a blank canvas as well, and over time we’ll add more templates to help make your cover even faster and easier.
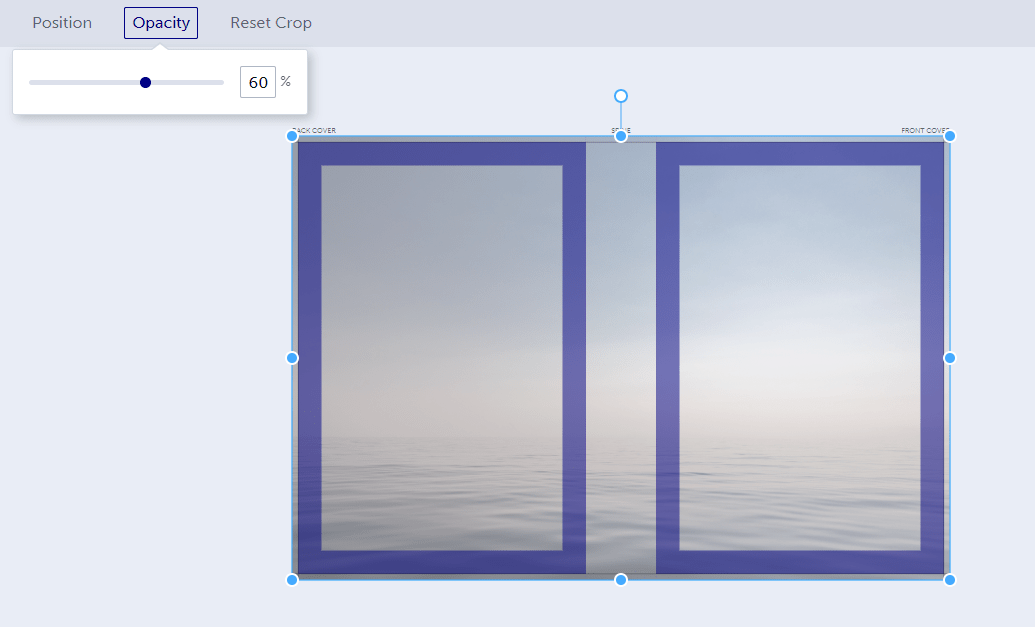
Since I know what I want to create, I’ll start with the blank template and upload all of my images. I’ll use the ocean as the background, so I add that first. To keep it from overtaking my cover, I’ll set the transparency to 60% and make sure the image layer is on the ‘bottom’ of my cover design.
Next, I’ll add my text boxes. One for each unique style and section of text. For me, that’s five: the title, the author byline, the back cover blurb, and two for a review on the back.
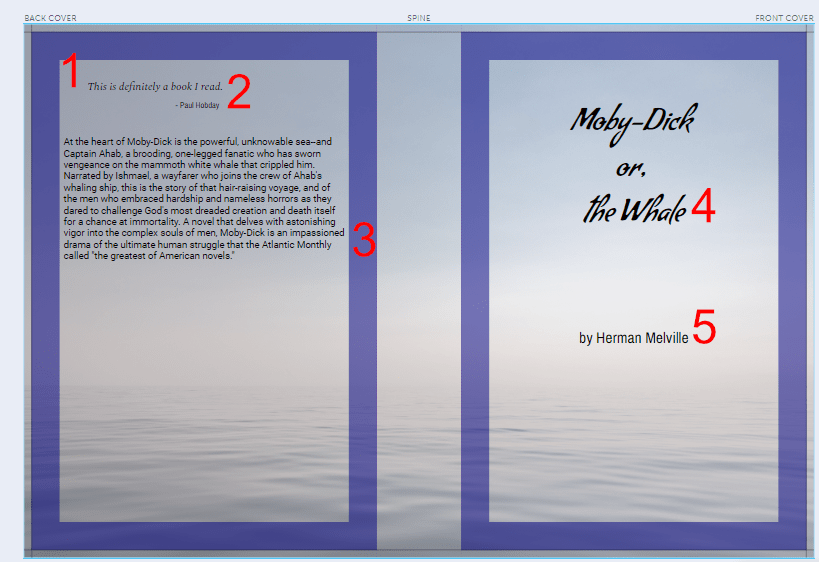
Then I’ll add a couple more text boxes to the spine for the title and author again.
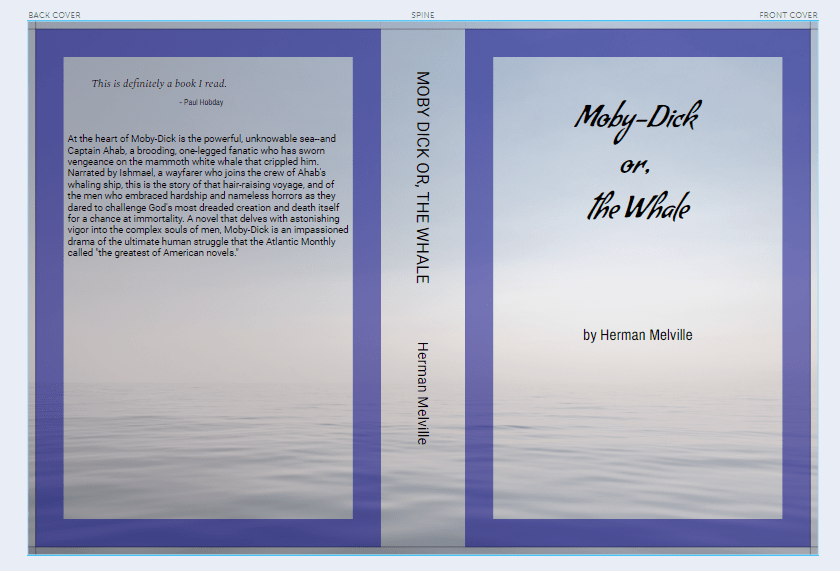
Finally, I’ve got a couple of images I want to add. I’ll place them and resize each one. Here’s what it looks like with the Preview Cover option selected:
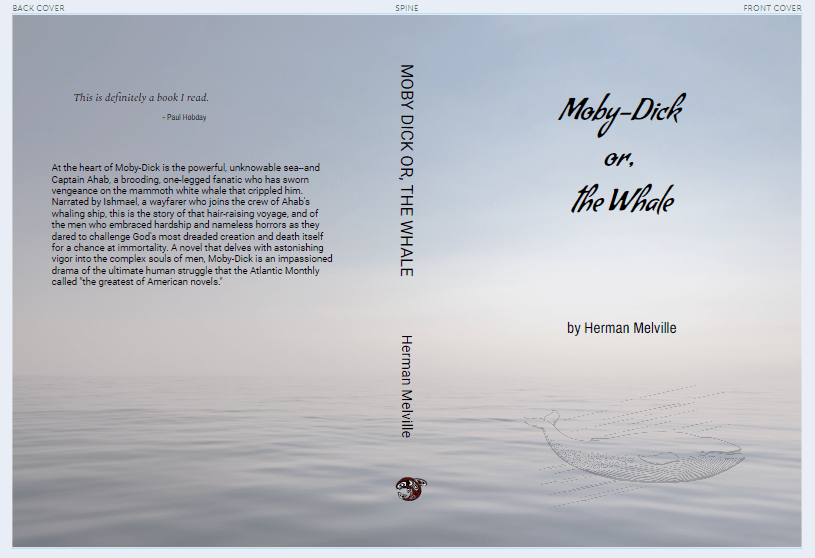
And there it is! Without any design templates, I’ve created a perfectly nice, simple book cover. I didn’t have to hire a book designer (or pay anything) to make my cover either!
How Lulu Simplifies Book Cover Designing
When publishing your book, you know how important your cover is. The cover needs to be eye-catching and true to the content, all while maintaining your branding. That’s a lot to expect from just your book cover!
A professional book cover designer might create the perfect cover to catch a reader’s eye, but it will cost money and may take time. I’m happy to introduce our free DIY book cover designer!