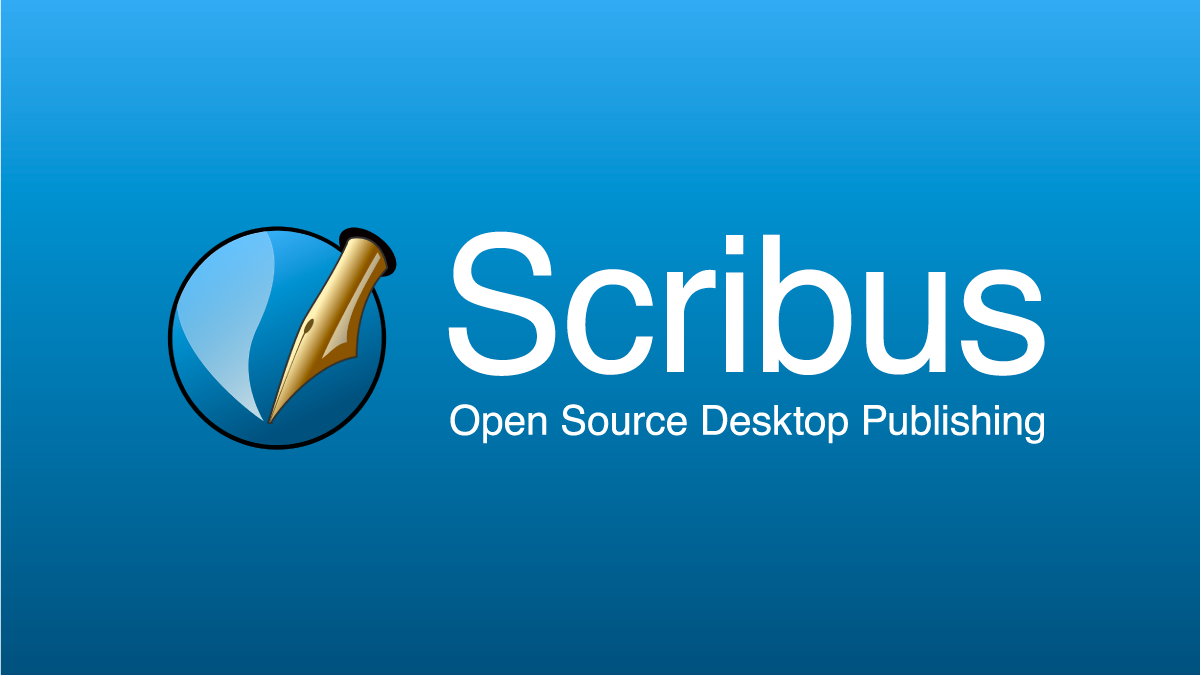
Scribus Free Desktop Publishing Review
Thinking about laying out your next book yourself but not sure you want to invest in InDesign or another paid tool? Try Scribus—it’s an open-source alternative for page layout. If you’ve never tried, or even heard of, Scribus then you are in the right place.
Today we will look at creating a simple novel in Scribus and comparing it to other popular options.
What Is Scribus?
It’s a simple page layout tool built for all common operating systems and is totally open source. That means it’s free; but with that comes the caveat that those maintaining it are not getting paid. Updates might take a long time to come out, and functionality might not be the best.
While the team that built Scribus strives for a user-friendly interface, it’s not perfect.
So what you have is desktop publishing software that will do everything InDesign can (for a book) without having to pay anything. The downside is that you’re limited to the wiki page for how-to information and the interface is more cumbersome to navigate.
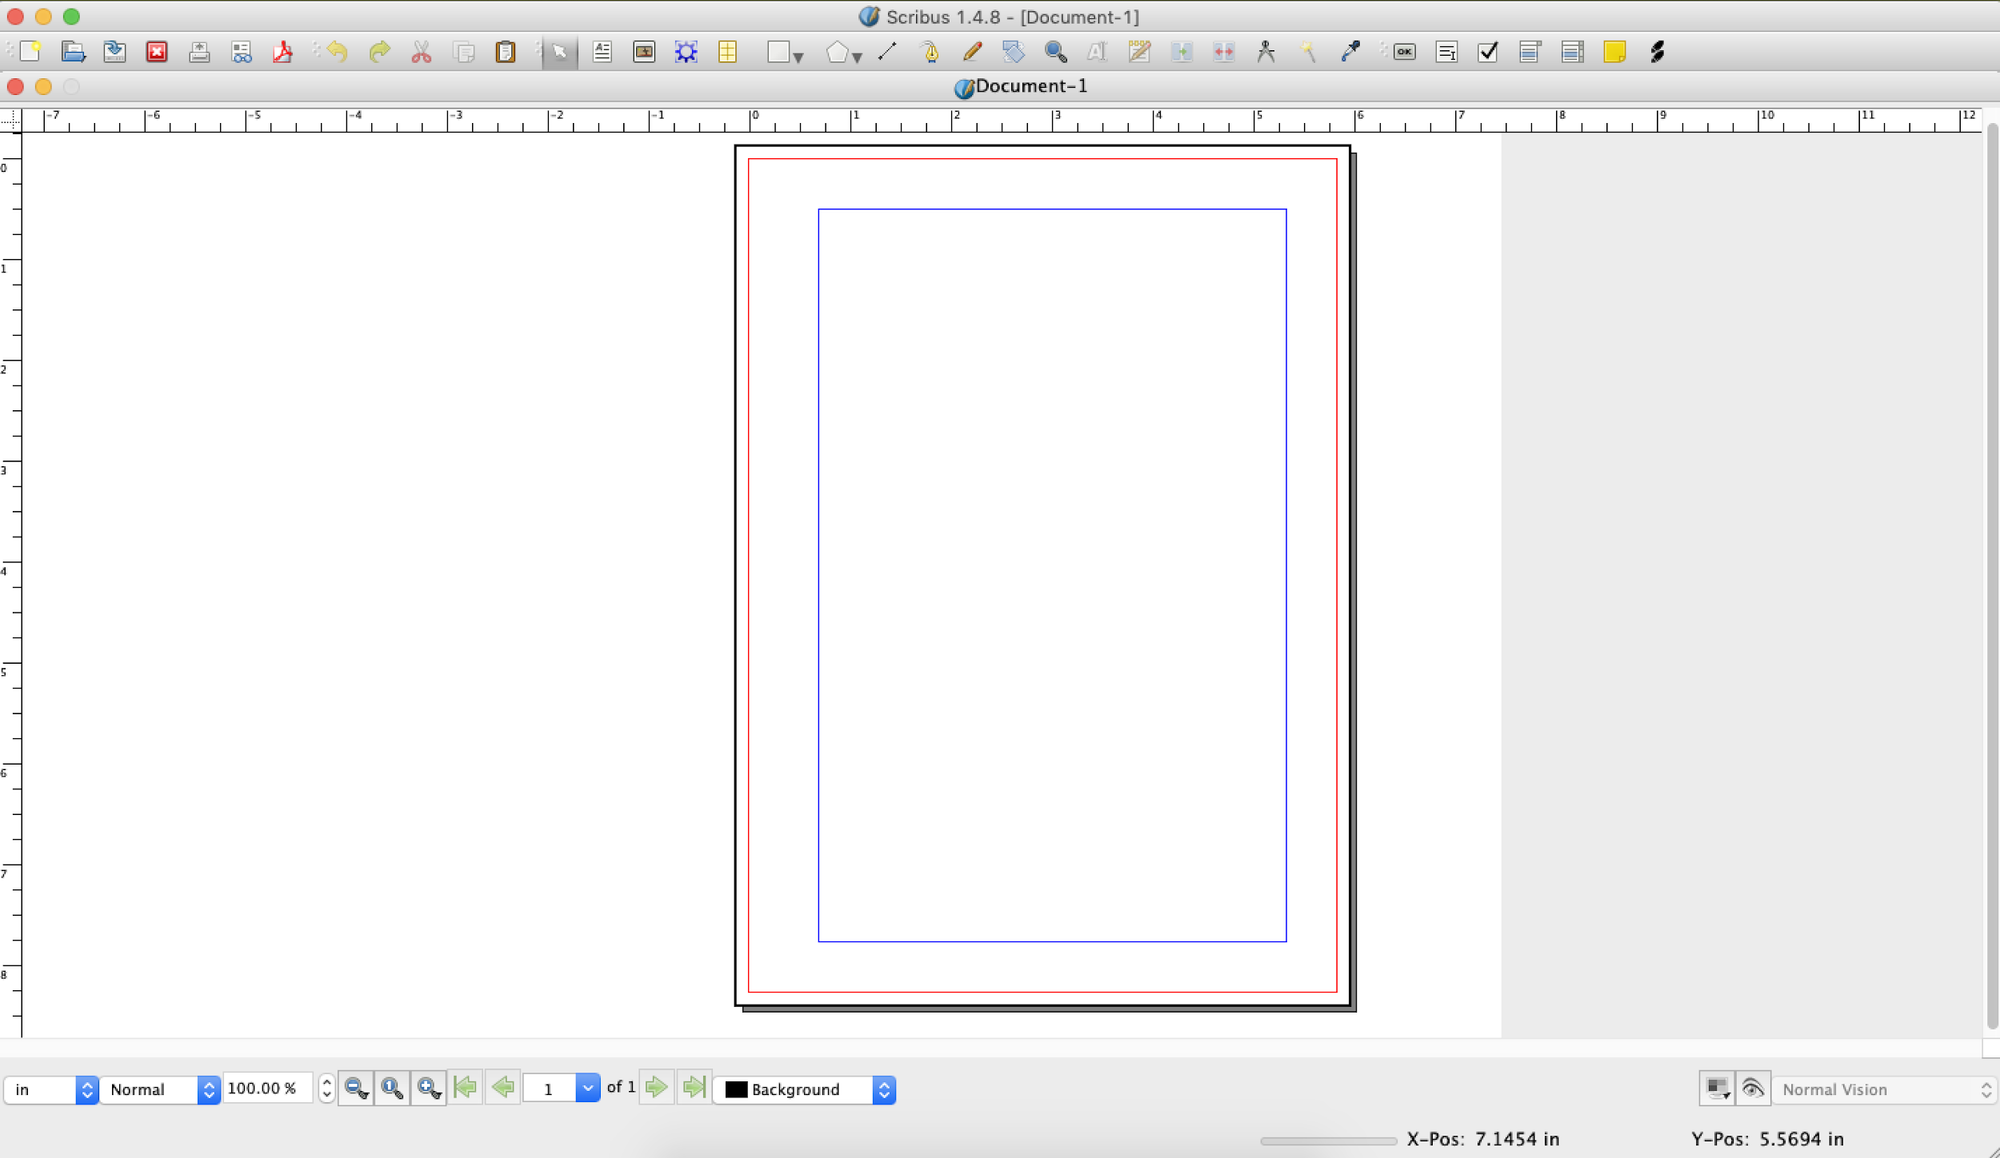
Making a Book
Before you create your book, you’ll want to adjust some settings and get familiar with the layout. Unlike Adobe InDesign or Affinity Publisher, you must open a lot of the toolbars in new windows.
You’ve got some controls on the top bar, but many of the functions you need live under the Windows menu.
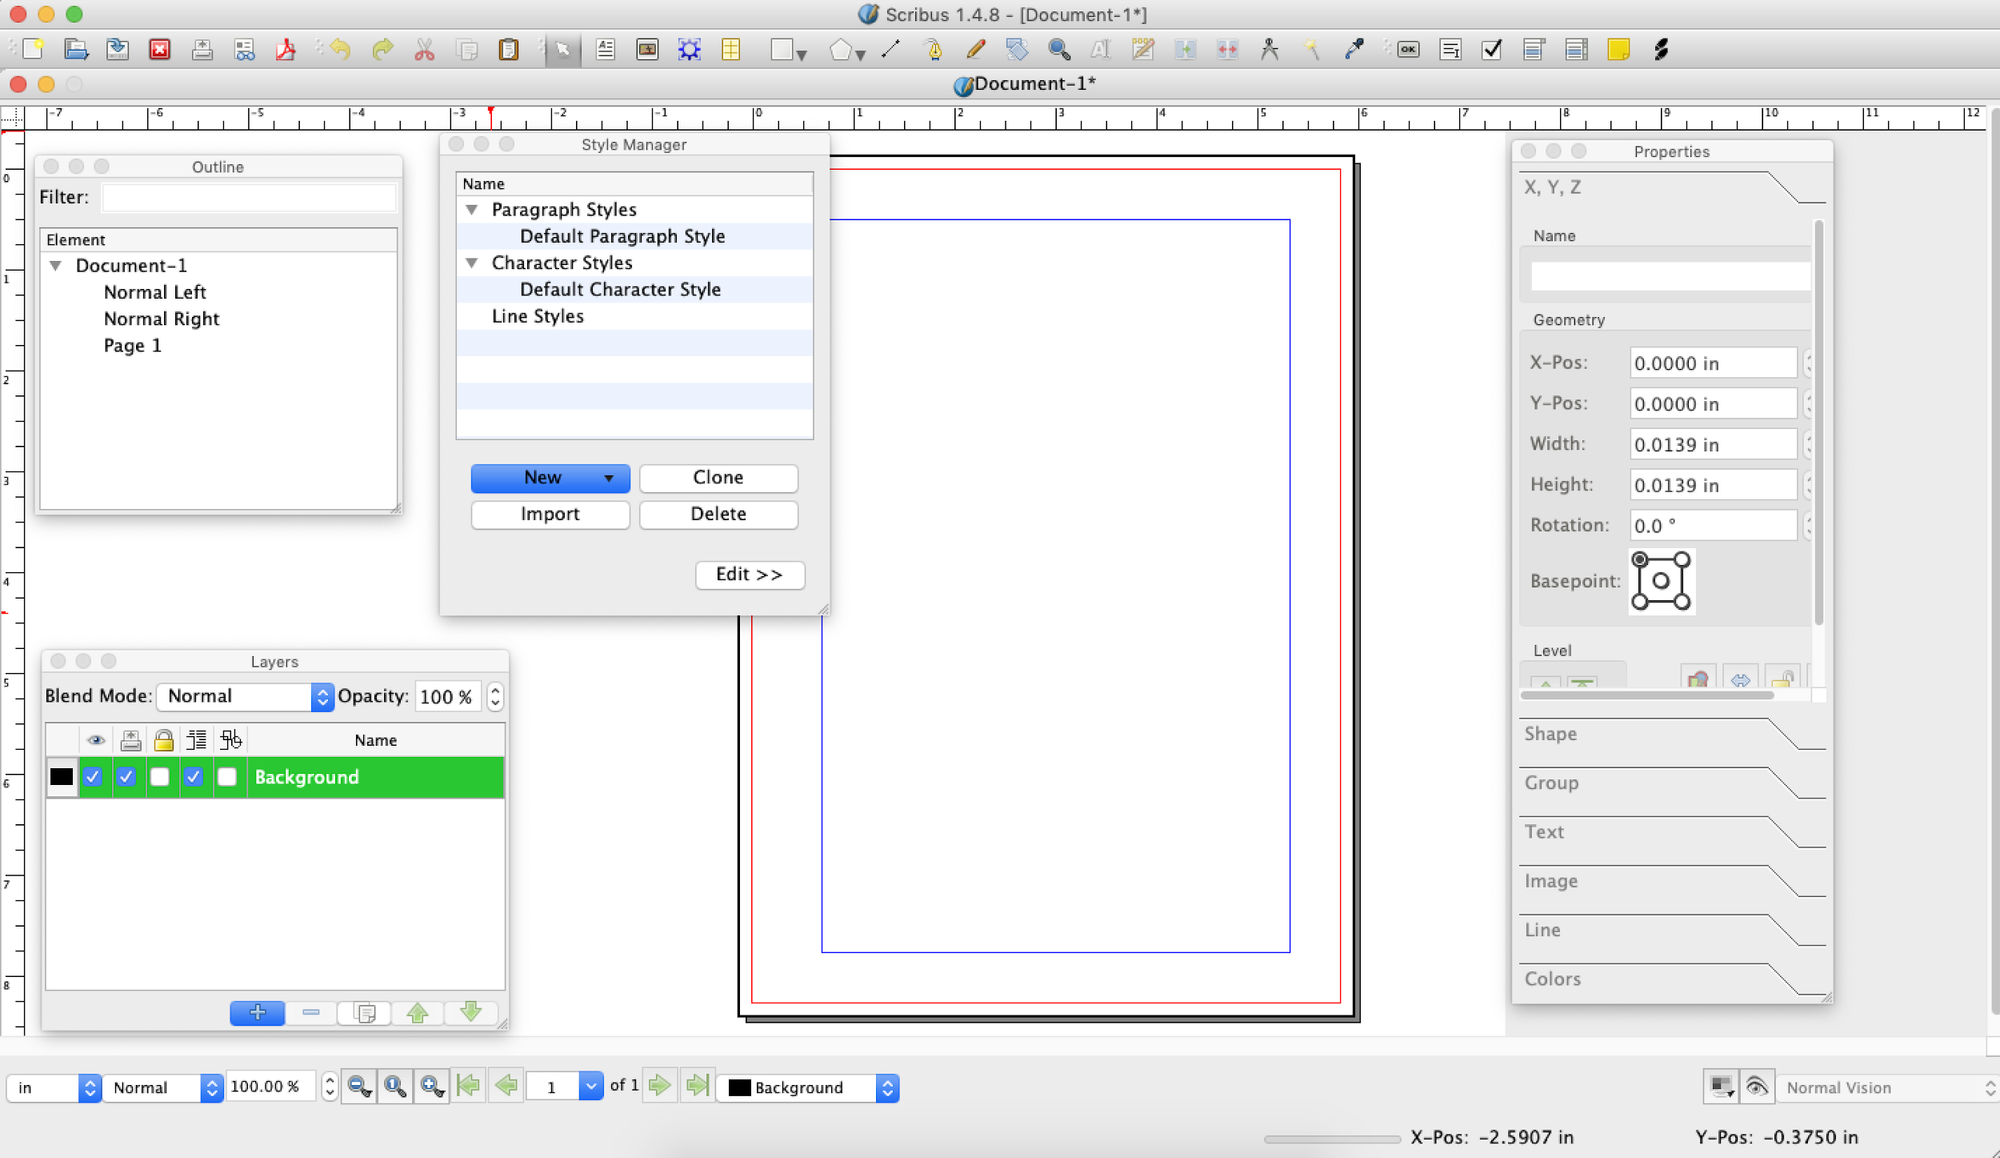
You won’t need all of these all the time. But the Outline, Layers, Styles, and Properties windows are all commonly used for styling your pages.
Once you’ve toured the menus a bit, open a new document and you’ll be able to preset several elements.
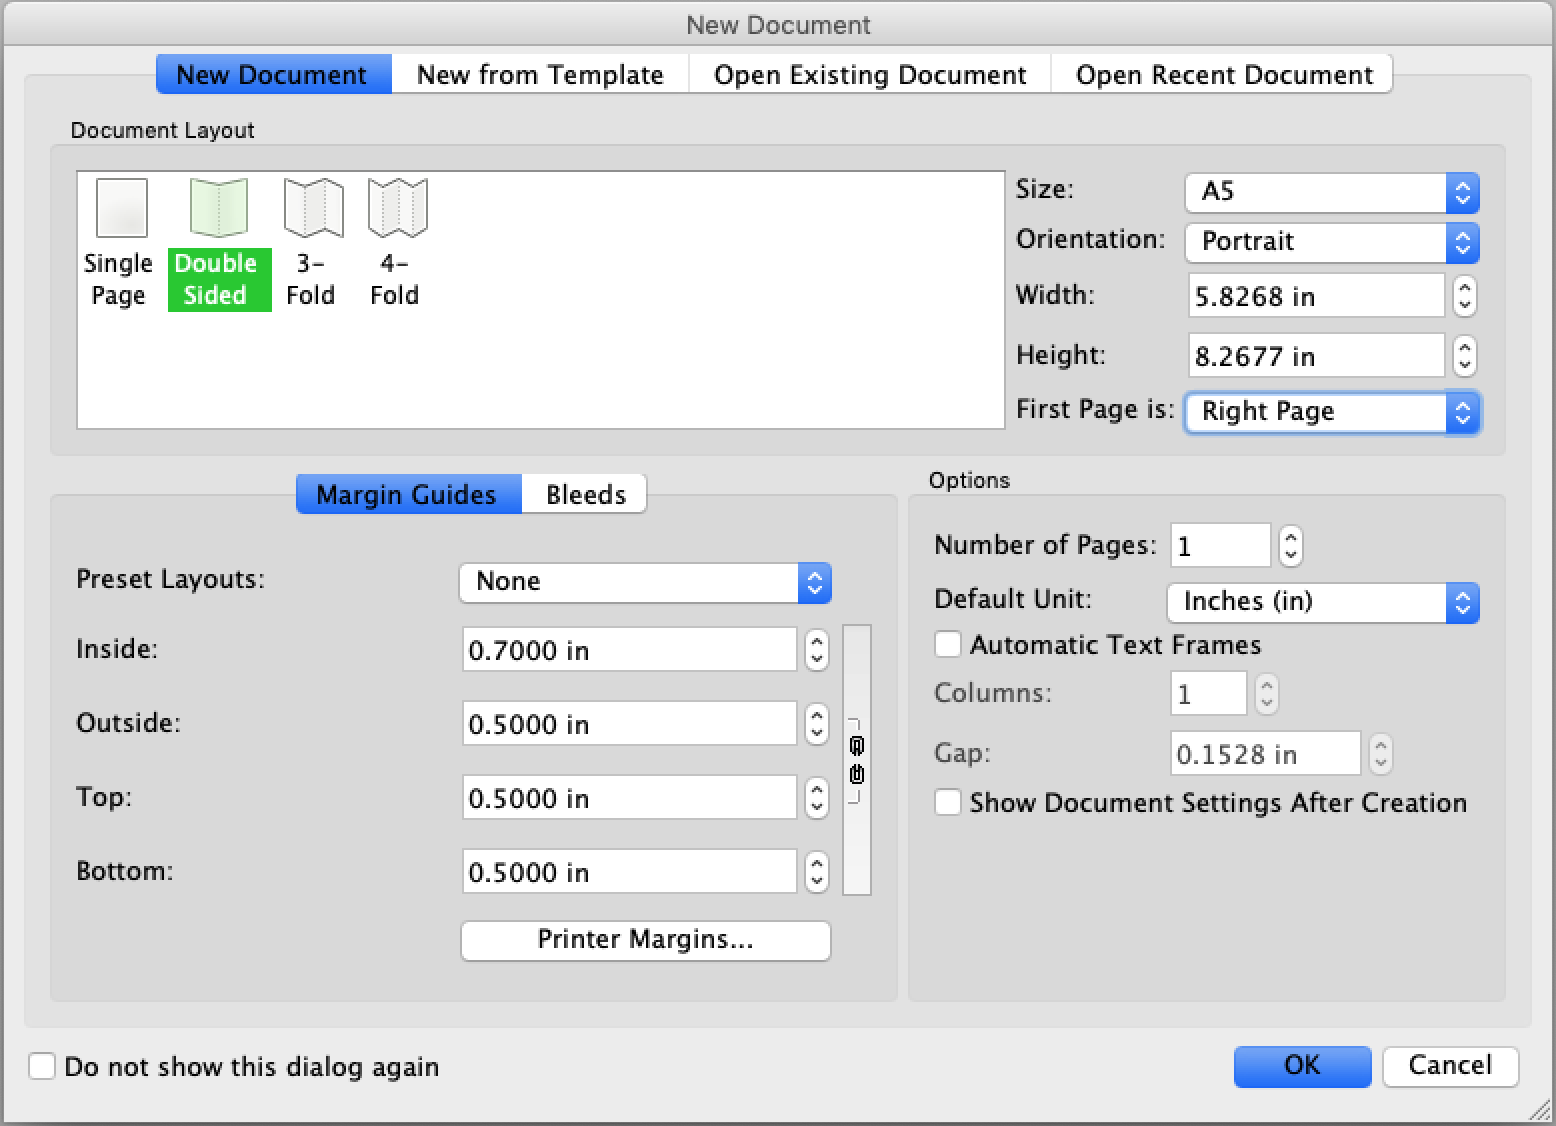
You’ve got a lot of options here, including using some existing templates. I advise setting up your own pages though. It’s easy and once you’ve got the pages the way you like, you can always save them as a template to use later.
Okay, so the main points here are:
- Select Double Sided
- The first page is… Right Page
- Add a larger Inside margin to create a gutter
Scribus includes some preset page sizes, but you can always customize them. Be sure to use the finished size here and select the Bleeds tab to include bleeds. You should see 0.125 in as the default.
Last one, and this is possibly the most important; check the box Automatic Text Frames. This will build a text frame into every page. If you don’t select this, importing your contents will be a pain.
Importing Your Work
Just like other desktop publishing apps, you’ll have the option to build Master Pages to assign different profiles to sections in your book. You’ll also be able to create sections in the same way you would in MS Word.
Since you selected Spreads, you’ll have a Normal Right and Normal Left Master to begin with. I like to create a Front Matter Master too. From there I can insert front matter pages and add a bunch of normal pages after.
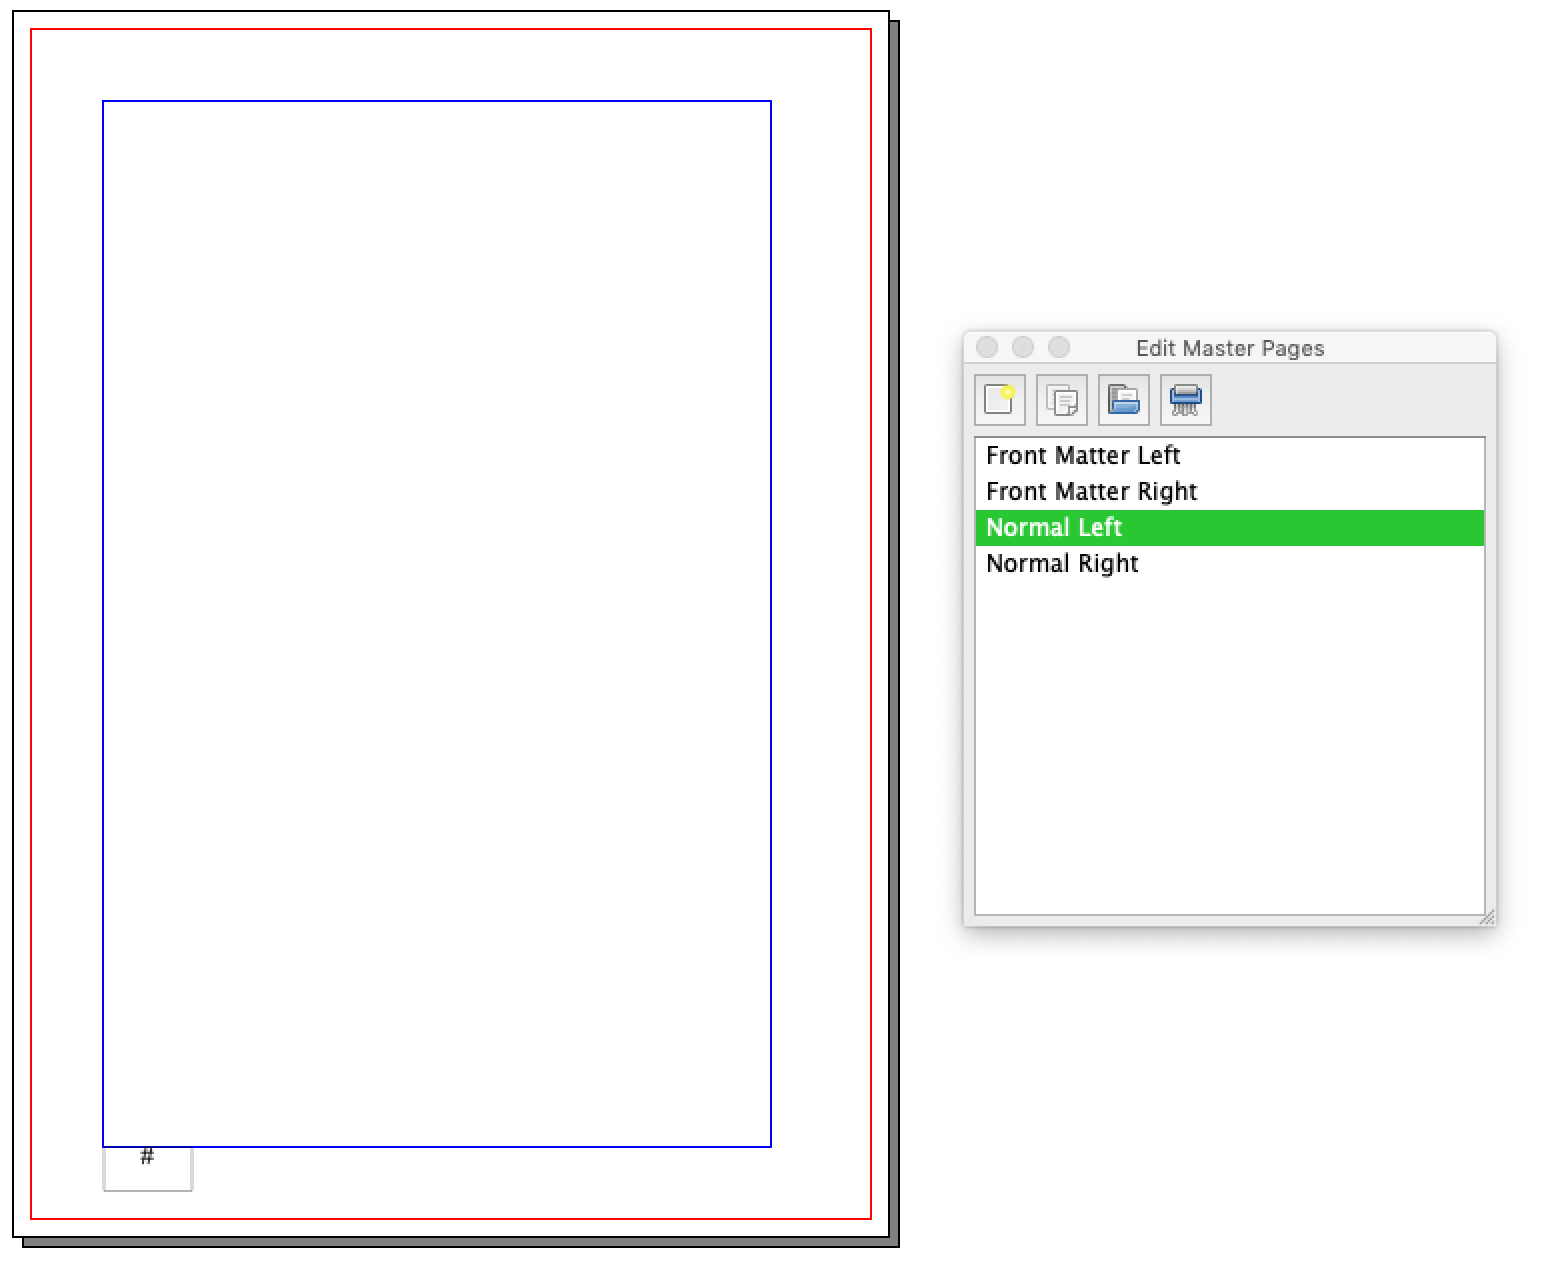
There’s one important edit to make to the Normal Masters—adding page numbers. I created a text box on the outside edge, the selected Insert > Characters > Page Numbering and there it is! Works just like InDesign’s page numbering.
Now you can import your contents. I dumped all of my interior contents into the text frames on the Normal pages, creating about 90 pages of text.
Doing it this way means I’ll have to go in and add styles for chapter titles and clean up the text. You can always import each chapter individually, adding styles similar to Microsoft Word and preparing some unique pages by manipulating the text frames, just like you would with InDesign.
So that, very broadly, is how to use Scribus to create a book.
Book Publishing With Scribus
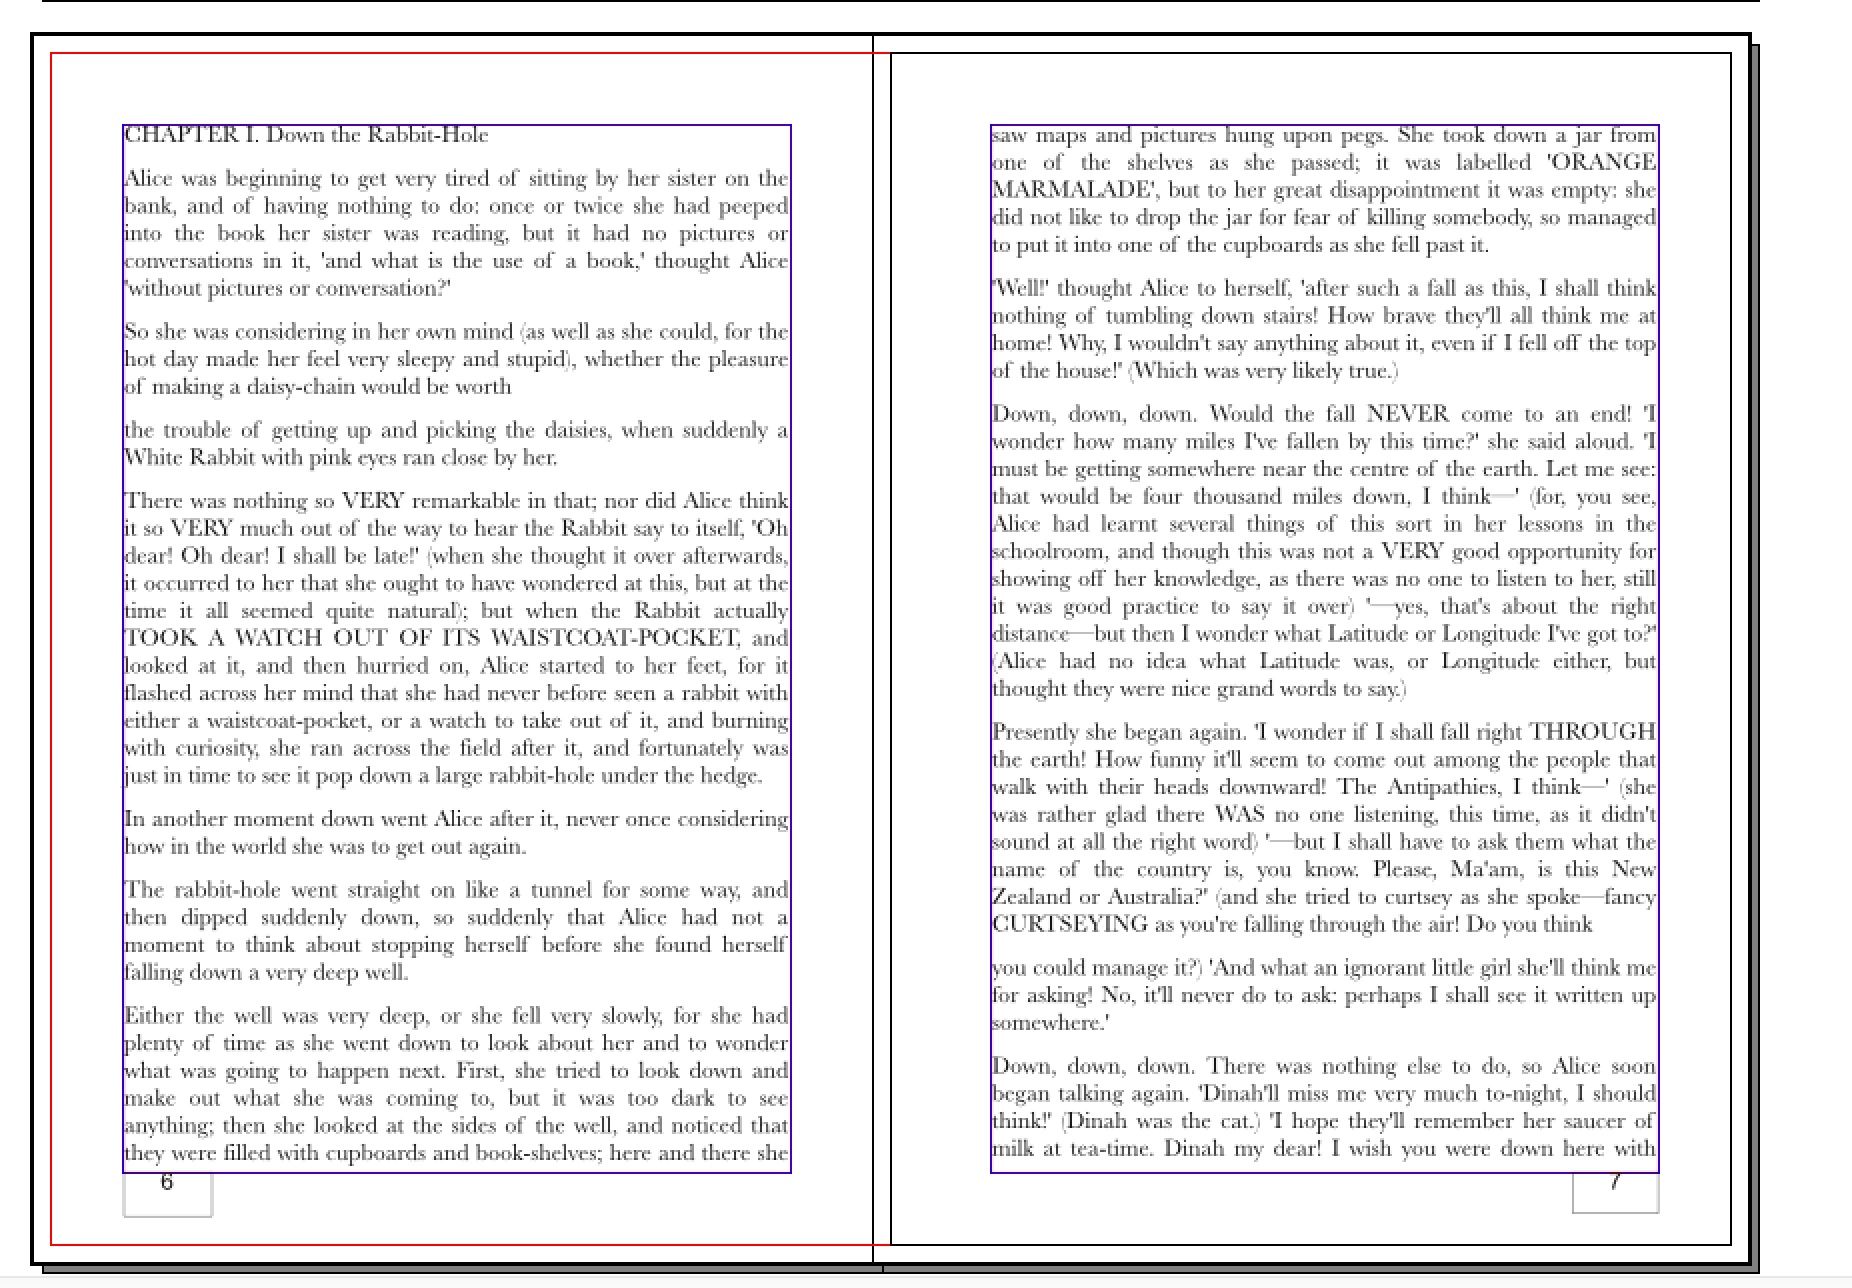
I always use a Gutenberg version of Alice’s Adventures in Wonderland to test page layout software. Using Scribus took longer than it did with InDesign or Affinity Publisher. I think it’s fair to say that Scribus has a steeper learning curve and there are fewer resources to help. When I wanted to learn InDesign, there were entire websites and YouTube channels dedicated to teaching me. Scribus basically just offers their wiki page.
But you absolutely can achieve a wide range of book creation and publishing tasks with Scribus. It took a little more time and frustration for me to learn the tool, but once I did the final PDF looked just about the same as the one I created from InDesign.
So how does it stand up to some of the most popular desktop publishers?

Create Your Book
Use Lulu's free templates to easily create and publish your book today.
Scribus vs. InDesign
With InDesign, you’ve got a lot of features, a wealth of resources to help you learn the ins and outs, and the backup of Adobe’s creative cloud; meaning your software is always up to date. Scribus doesn’t offer cloud storage and you’ll be on your own with learning how to use the features.
The biggest difference is the interface. It’s like night and day; InDesign uses a huge variety of tools that frame your workspace, giving you access to so many options and ways to control your work. Scribus’s basic page is much simpler and accessing tools requires opening various pop-out windows. Neither is particularly better than the other; it becomes a matter of personal taste.
However I have to acknowledge that InDesign is much more powerful–you’ve got powerful image editing and design tools that Scribus doesn’t offer. The goal of Scribus is much more focused on providing you a means to create a book, while InDesign has broad applications for a range of projects.
All of that is balanced against the fact that Scribus is free and Adobe InDesign is about $240 per year.
Scribus vs. Affinity Publisher
I’m a big fan of Affinity Publisher and it’s my current go-to for page layout. It’s moderately priced (no subscription) and rivals InDesign for features. What Scribus does a little better, and might be a selling point beyond the price tag, is focus on book design. Both InDesign and Affinity Publisher are more general page layout tools.
Scribus has general tools too; for making fliers, pamphlets, and magazines. However the software is heavily focused on page layout with an eye toward book design.
So just like my comparison to InDesign, Affinity Publisher is more powerful and more broadly useful. But it comes with a price tag (though only around $50) and has the same density of options and controls InDesign has.
Scribus vs. Microsoft Word
Word is a fine for simple page layout. Lots of authors still use it too. It has the added benefit of being a serviceable word processor too. But when you get into a more complex layout, Word is a little weak. You can create designs like pages with unique header content and books with multiple sections in Word, but it’s not ideal. And that’s not even getting into some of the challenges of page numbers that differ based on sections or are non-sequential.
Scribus offers many of the tools you won’t find in Word, but are mainstays of InDesign. And if you’re a Word user looking for a more sophisticated page layout tool, Scribus can be a suitable option since it’s free. Best of all, like all good page layout tools, making edits or changes to the design of your pages is easier in Scribus than in Word.
Basically, Word is designed for creating text documents, and Scribus is designed for creating books.
Final Review
I was able to achieve the layout I wanted with Scribus. It was more work to learn and prepare the pages and to finalize the layout once I imported my text. The trade-off is the price point, which makes Scribus an attractive InDesign alternative.
For complicated page layouts, I haven’t found any free or open-source tools that rival Scribus. It’s not as powerful or user-friendly as InDesign or Affinity Publisher, but it gets the job done.
Bottom line, if you’re in the market for free publisher software, Scribus is the best option I’ve found.