
Your Guide to Advanced Microsoft Word Formatting
Back in the middle of July, we ran a webinar about Microsoft Word formatting basics for book preparation. In the comments and questions, we ran into a lot of authors and aspiring authors who asked about some advanced formatting. As I reviewed the list of questions and sat down to write up answers for everyone, I realized the webinar didn’t cover enough.
In fact, it essentially just offered the tip of the iceberg.
It seems people want more!
Word’s Advanced Formatting
Once again, we’ll keep our focus on MS Word, using the most up to date version. Other word processors like LibreOffice or page layout tools like InDesign are great too. But Word remains the most commonly used, so we’ll stick with that for now. I should also note that I’m using Word 2016 for Mac, so some of the menu locations will be a little different from the PC version.
I’m going to look at three advanced formatting elements in this post:
- Drop Caps
- Orphan/Widow Control
- Footnotes & Endnotes
Drop Caps
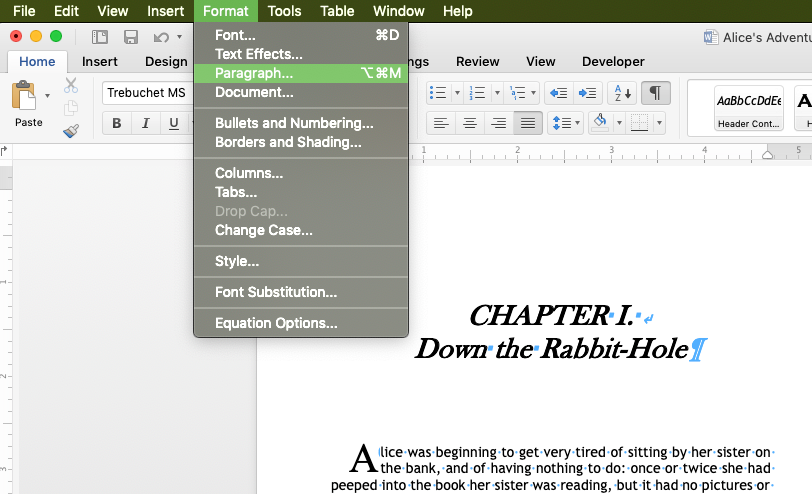
Purely decorative, Drop Caps (short for dropped capitals) are most often used in novels at the beginning of a chapter or section. They add flair and style to your text, as well as visually signifying a new section’s beginning.
In MS Word, the Drop Cap options are in the Format menu:
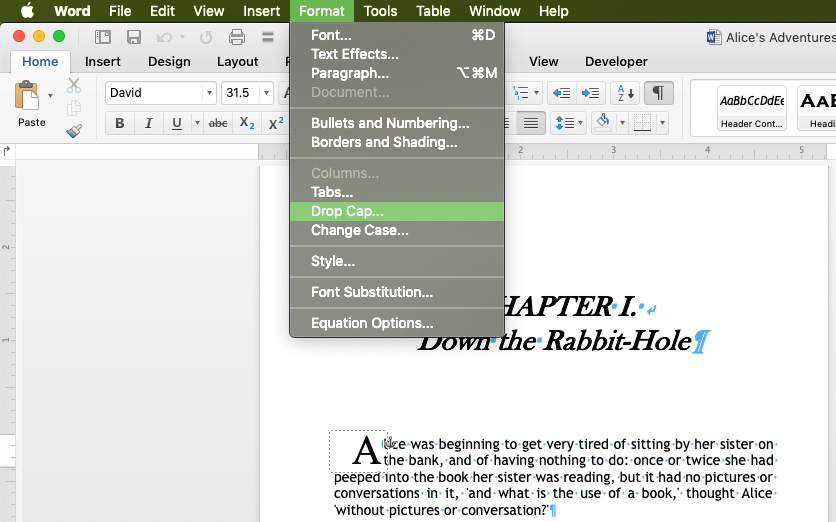
As you can see in the image above, I’ve already inserted a Drop Cap for the letter ‘A’ in my document. To do this, I simply highlighted the ‘A’ before opening the Drop Cap menu.
Here’s what the specs look like in the Drop Cap menu:
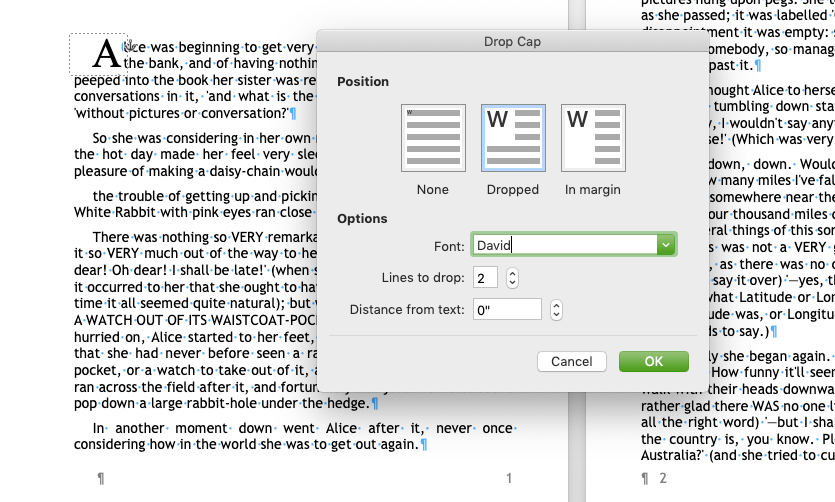
The Position of your Drop Cap will control how it appears on the page. None, clearly, means there is no Drop Cap. Dropped means the character (or word) ‘drops’ down into additional lines. And In Margin pulls the Drop Cap into the page margin like this:
For almost all instances of Drop Caps in a novel, you’d want to use ‘Dropped’ to create a common look and feel of a chapter’s first paragraph. Depending on how many lines of text are in the paragraph, you might drop 2 or 3 lines.
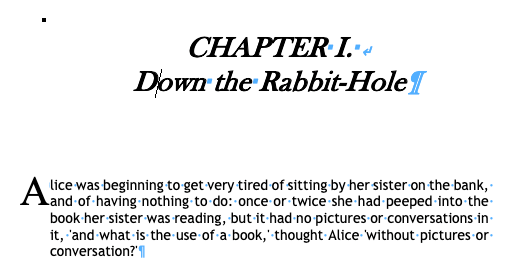
Along with the positioning, think carefully about the font you select. For my example, I’ve used David font as it’s a clean, serif font with thick lines. Basically, it stands out nicely on a screen. But for your printed book, you’ll want something that works well on the page.
As an example, this is the same paragraph, but I’ve changed the font to Baskerville and the Drop Cap to Apple Chancery:
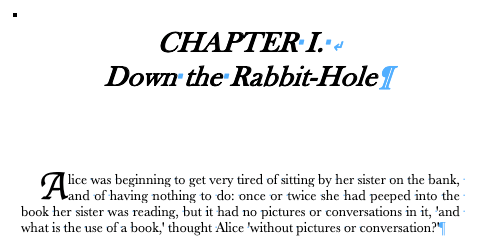
Much more stylish, right?
The last point about Drop Caps; remember that they use a Text Box to isolate the character or word being Dropped. That means you won’t use them for an ebook, as EPUBs hate text boxes. And it also means you’ll need to be conscious of the way your text will shift with the inclusion of a text box.
Orphan/Widow Control
For most, controlling the position of text is even a little beyond advanced formatting. This one might not be obvious at first, but once you start seeing orphans and widows in your document, it’ll be impossible to unsee them. So I apologize for that.
Orphan Control – When a paragraph begins so low on a page that only a single line is present on that page, that line is called an ‘orphan’.
Widow Control – When a paragraph begins on one page and ends on the next with a single line, that line is called a ‘widow’.
Basically, we’re trying to avoid lines of a paragraph that are left alone on the page. This is widely considered poor typography. And just look at this example:
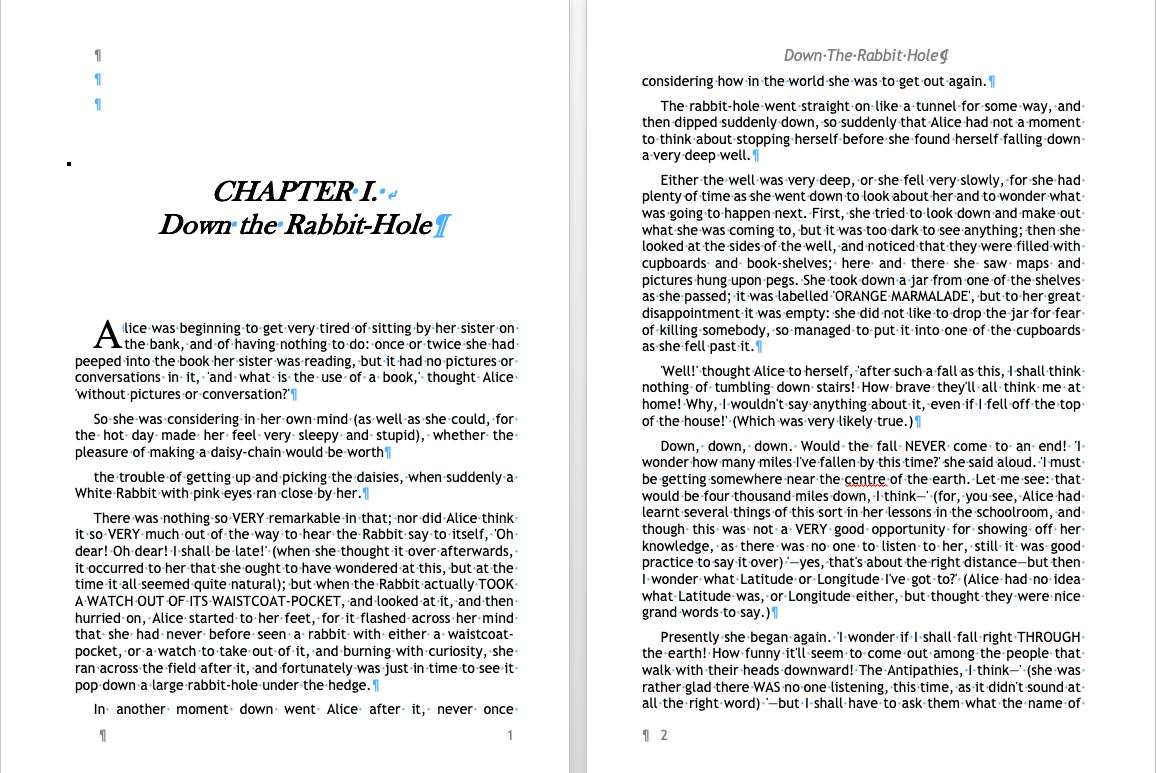
Here I’ve managed to add both a widow and an orphan from a two-line paragraph. Now look at the same spread with those lines pulled together:
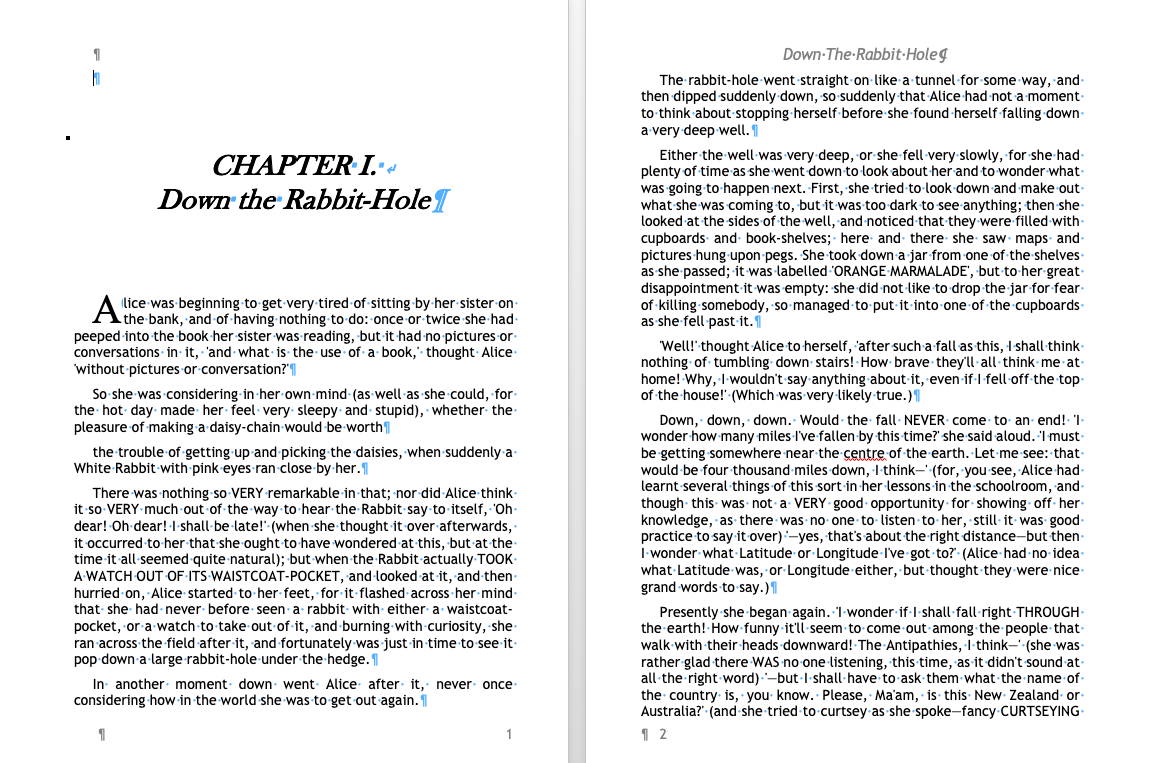
Incredible what a simple change does to the pages, am I right?
MS Word offers a few options for controlling widows and orphans automatically. You’ll find them under the Format menu for Paragraphs:
Once you’re in the Paragraph menu, click over to Line And Page Breaks to see your options:
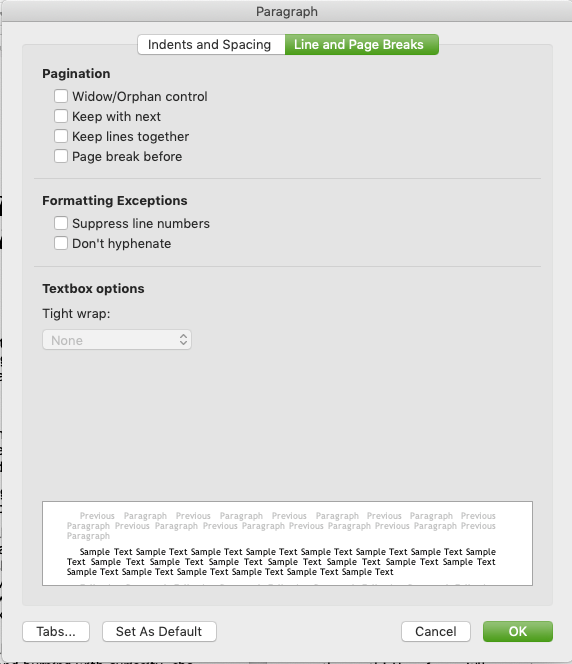
You’ve got four controls at your disposal to clean up widow or orphan lines in your file:
- Widow/Orphan Control – this will simply prevent widows and orphans by pulling a line to the next or previous page. Note that this will not force paragraphs to stay whole. Instead, it simply prevents a single line from appearing at the top or bottom of a page.
- Keep With Next – you likely won’t need this one often. But, if you need to pair two elements, like a Heading line and a Paragraph, and instruct Word to keep them together on the same page, Keep With Next is what you’ll use.
- Keep Lines Together – this control will ensure paragraphs stay whole. I haven’t used this one often, but from my testing, it tends to want to pull the content onto the ‘next’ page, which can create a lot of white space on the previous page. I advise using this one cautiously.
- Page Break Before – formatting a paragraph with a break before will automatically break the page before the first line of the paragraph. This can be useful if you’re creating multi-page forms that need a set of instructions or the like at the top of each page. In general, I prefer inserting breaks manually.
You have the option to turn this feature on for your entire ‘Normal’ style by right-clicking the style, selecting Modify, and opening the Paragraph menu. If you plan to use Orphan/Widow Control, I suggest doing it this way and then carefully reviewing the file. Because controlling widows and orphans is such advanced formatting, it’s recommended to carefully review your pages after updating the style.
Footnotes & Endnotes
Used primarily for academic and nonfiction books, footnotes and endnotes are one of the few areas where I think MS Word shines. Yes, I said it: I like using Footnotes in Word.
Footnotes & Endnotes live under the Insert menu:
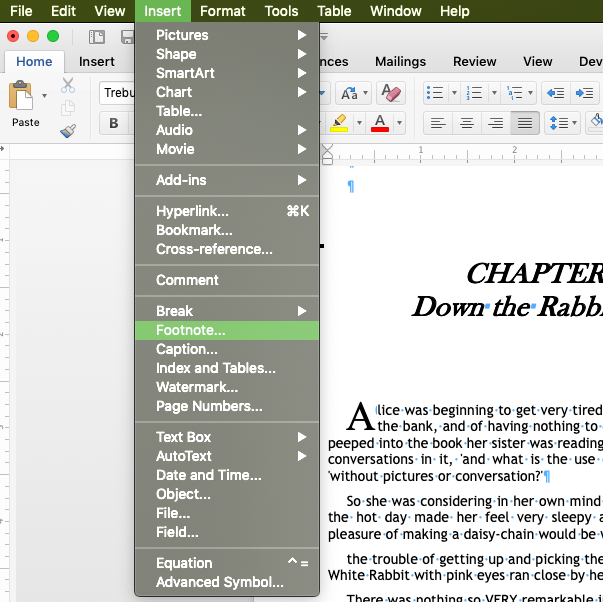
Note that, using Word 2016 for Mac, I only see ‘Footnote…’ here. But when I open the menu, I have the option to create a Footnote or Endnote:

So first we have the positioning, which is the only real difference between a Footnote and Endnote. I don’t want to delve into when to use which style of note, but this article has some good pros and cons to review.
The rest of this menu has controls for the layout and format for your Notes. I recommend for most to keep the ‘Columns’ set to ‘match section layout’ unless you’re pretty comfortable with using columns in Word. The majority of book layouts won’t want the columns for Notes anyway.
When you click ‘Insert,’ a character or number (based on the Format options) is dropped into your file. As soon as you do, the Note is created between the end of your page content and the Footer (for a Footnote).

And basically, that’s it!
Okay, oversimplifying this a bit. Using Footnotes and Endnotes means your page layout and formatting shifts. For most writers who will be using Footnotes, you’ll have that content ready alongside the main content. So adding the Footnotes prior to laying out the page should make it relatively easy to manage.
You should keep in mind Widow and Orphan lines when you add a Footnote too. These two features often go hand-in-hand when it comes to finalizing your page layout.
Mindful Formatting
My final thoughts are to be very mindful when adding elements to your file. Every time you change, add, or subtract something from your content, the remaining content will shift on the page. Among Word’s many flaws, adapting to content changes is the most cumbersome. Always be careful, particularly if you go to add a Footnote after the major formatting is done.
And there we have it. Let me know in the comments if there is more Word formatting I can cover, or if you have a follow-up question about these three.