What Is Full Bleed Printing?
If you’ve self-published or are researching your self-publishing options, there’s a good chance you’ve encountered terms like Bleed, Full Bleed, and Gutter Margins. In the book printing world, Bleed is an important concept to understand. And for some book layouts, properly applying Bleed settings can be the difference between a professional design and… not.
Understanding what full bleed printing means and how to set your bleed and gutter margins are key to creating a PDF that will print exactly as you intend.
What Is Full Bleed?
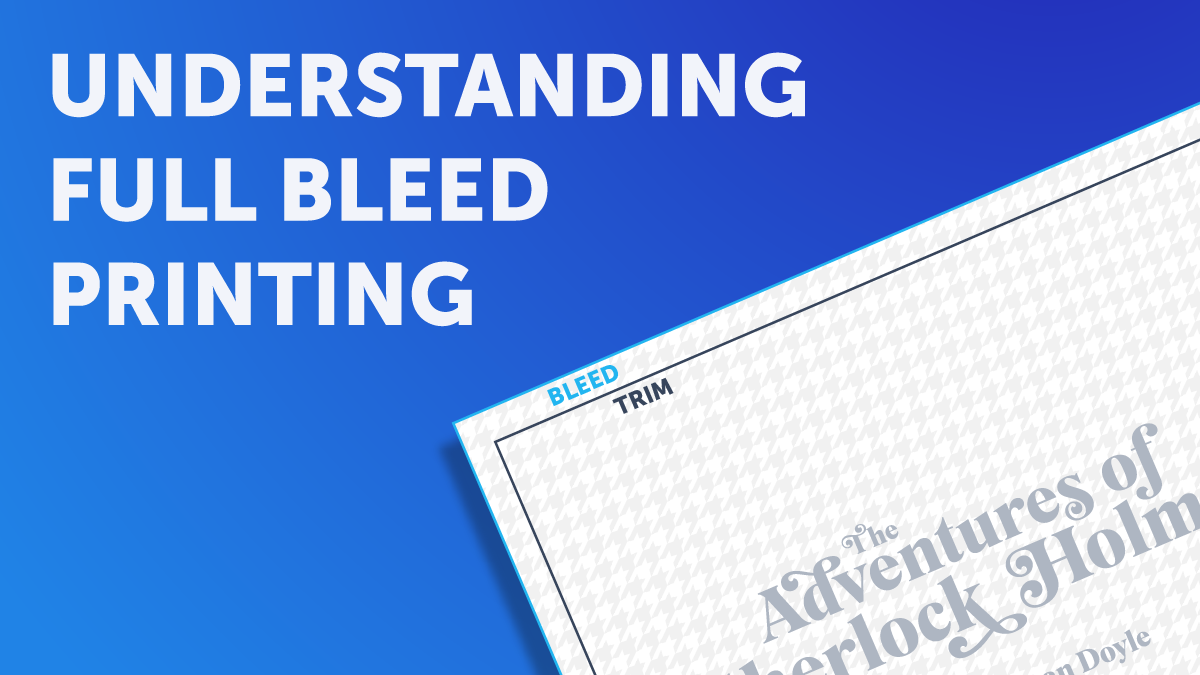
Bleed is the edge of the printed page that is trimmed off during binding. Simple as that. Whenever a bookmaker (and really any other kind of printing like business cards, posters, etc.) prints a sheet of paper, they do so slightly larger than the final size. Then they trim all the book’s pages so they appear uniform after being bound into a book.

Full bleed printing is file preparation that includes this content on that extra paper so that the final print page has content all the way to the edge.
Let’s say you’re making a novel for print-on-demand. The book size will be 6 x 9 inches. The temptation will be to size your file at 6 x 9 inches, right?
But the book printers need a file sized at 6.25 x 9.25 inches. That extra 0.25 inches is the bleed.
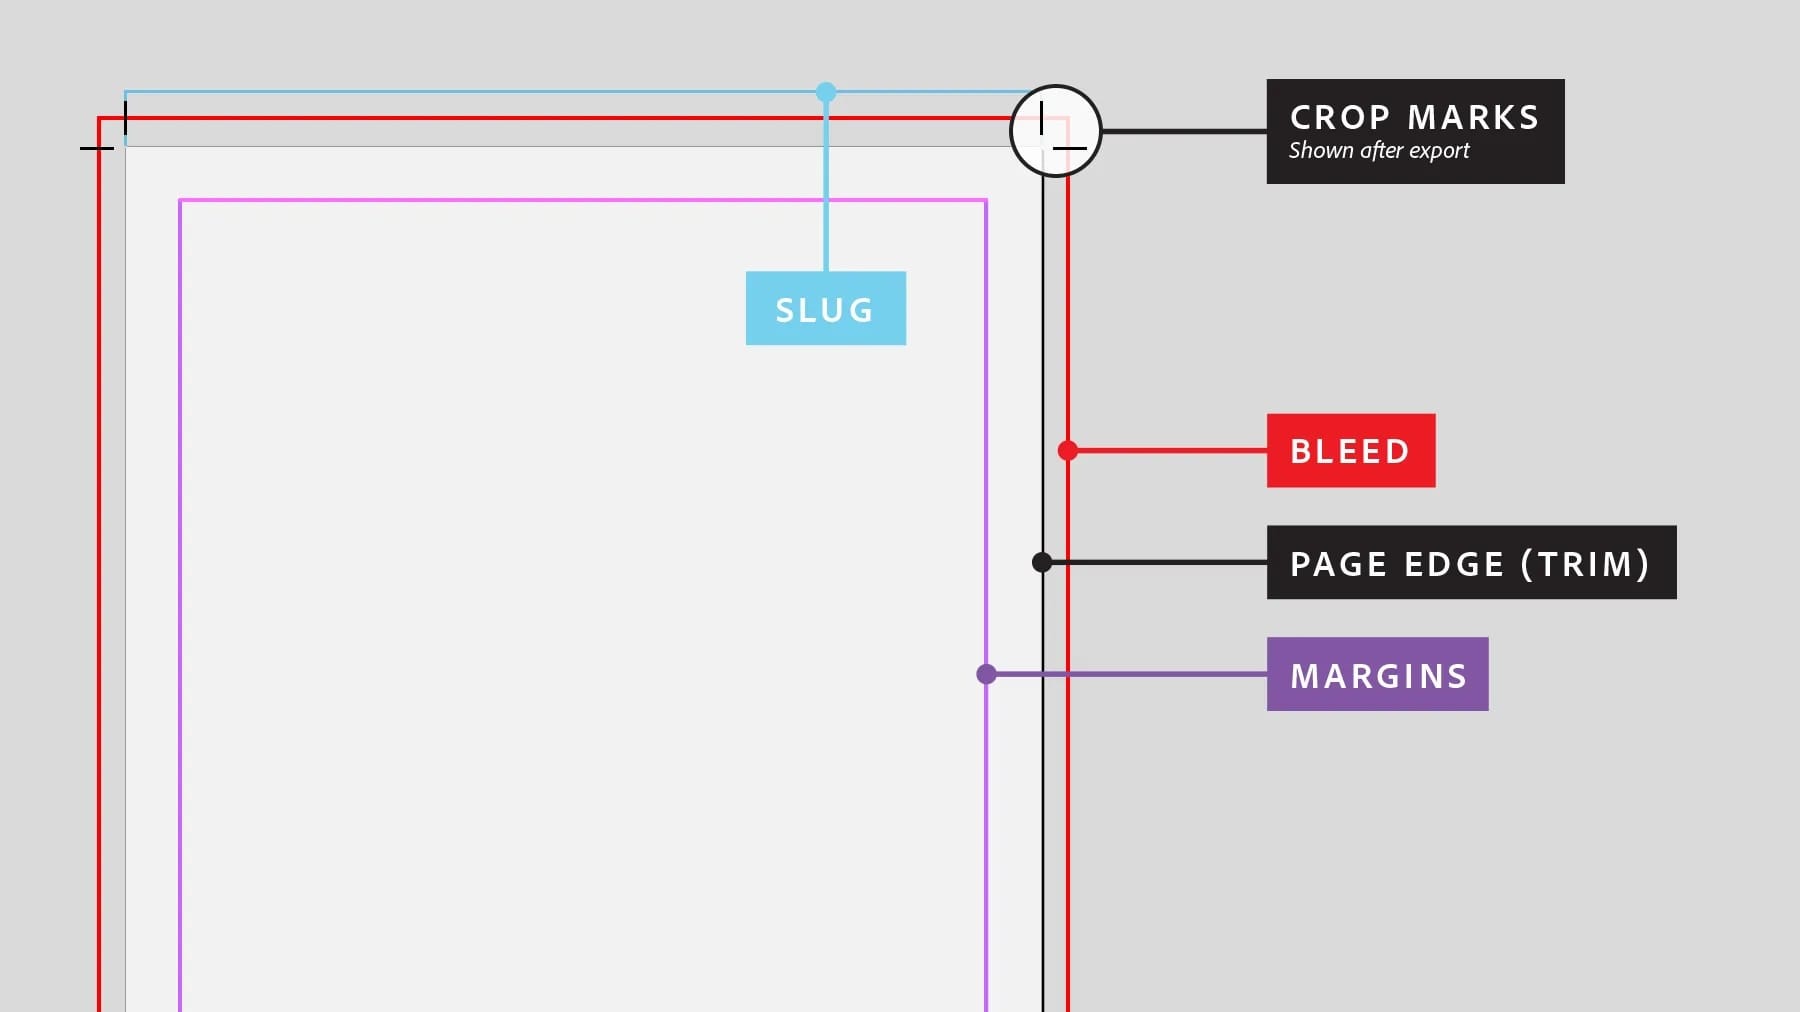
What this all means is that a PDF prepared at 6 x 9 inches is not full bleed, a file prepared at 6.25 x 9.25 inches is full bleed. Watch this tutorial video about bleed if you’re more of a visual learner:
Why Bleed Matters
For novels or memoirs, bleed may not be that important. For all print products, and in particular custom books, bleed is a given whether you prepare your file for it or not.
Now, if you’re creating a book with any images, color, or graphic design that extends to the edge of the paper, full bleed matters a lot for you. Here’s why:
If you create your pages with images that extend to the edge of the page WITHOUT adding a full bleed margin, your pages will have a white border.
Why?
Because Lulu (and any print-on-demand service) needs to print documents with full bleed, if you create the file at its final size, our automated review system would have to ADD the bleed margin. That small increase in page size (0.125 inches on each side) is just plain white or cream paper. Ideally, that extra paper is trimmed away entirely.
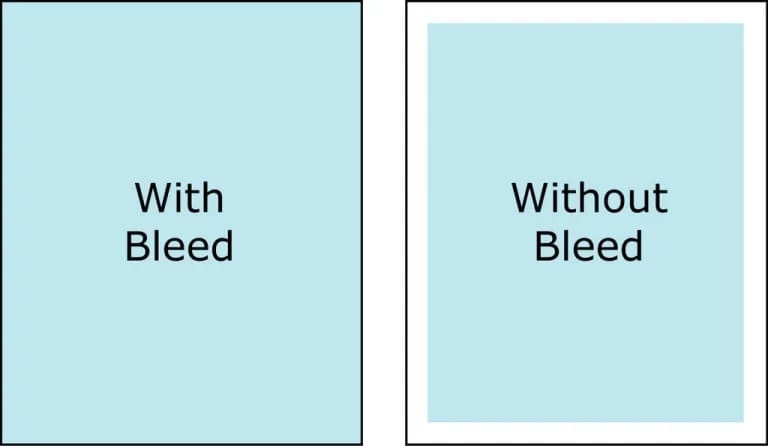
But the purpose of full-bleed printing is to allow a thin margin of error. While preparing your book for binding, it’s important that the page trim be uniform. We may trim one page slightly more than another to achieve that uniformity.
The result: thin white lines on an otherwise full-color page.
Full Bleed and Print-Ready Files
If you have any layout and design experience, particularly with software like InDesign, you probably already know about bleeds, margins, and trim lines. You’re prompted from the very beginning of an InDesign project to create a file with Bleed and throughout the design process, you can see the margins, trim lines, and bleeds as color-coded lines.
But if you’re a writer working out of any other program (like MS Word, Pages, Libre Office, or Google Docs, there isn’t any helpful guide to make sure your work is ready for printing.
Don’t despair!
In fact, the solution here is ridiculously simple. Ready for this?
Always create your file’s page size for full bleed printing.
Bam. You’re covered. Your print-on-demand product is sized correctly from the very first moment.
Here’s a two-step guide (for MS Word users) to prepare your file for full bleed before your even add your content:
- Select File > Page Setup and assign a page size 0.25 inches larger than the final size. Be sure to save this custom page size (I like to go with things like “US Trade + Bleed”)
- Select Format > Document > Margins and assign margins that include the additional bleed (Example: 0.5 inch margins become 0.625 inch)
From there, drop your content and get to formatting! When you’re done and you export your PDF, you’ll have it sized for full bleed printing. Don’t overthink or over-complicate this; full bleed vs. no bleed is as simple as adding 0.25 inches to your file’s overall size.

Create Your Book
Use Lulu's free templates to easily create and publish your book today.
Gutters and Full Bleed
The last thing to consider today regarding full bleed printing is your Gutter. No, not the thing catching leaves off your roof.
In page layout, the gutter is a slightly larger margin added to the inside edge of the page. So we lose nothing when the book is open. Imagine a novel with text disappearing into the binding. Uncool.
For most books, an additional 0.2 or 0.3 inches on the inside edge of the page is plenty to create a gutter. And all kinds of page layout software (even Microsoft Word) can automatically add a gutter to your specifications with ease.
But, for a book with full-page images and two-page spreads, the gutter requires a bit of added attention. The goal is to transition the image across these two pages seamlessly.
To do so, you need to include a small adjustment to the page’s image—in fact, you’ll include exactly 0.125 inches. Here’s a visual example of the bleed and gutter applied to a page:

As you can see, the image on the left side page includes a bit of the image on the right. When the pages are trimmed, that little extra paper is cut away. And where the two images meet (in the Gutter, the transition should be nearly seamless.
Preparing A Perfect Full Bleed Page
Page layout is one of the most challenging aspects of DIY publishing. And an essential skill to master if you want professional-looking books.

