Using Canva to Create Your Photo Book
When you first think about making a photo book for any occasion, it sounds like it could be fun and exciting! However, for many people, it can be overwhelming, especially if you only have basic knowledge of design and formatting book interiors. No need to fear, we got you covered.
Creating a photo book can now be fun and easy when using Canva.
What Is Canva?
Before I begin to discuss my process of making a photo book on Canva and uploading it to Lulu, let’s talk about what exactly Canva is. Canva is a graphic design platform that allows customers to edit and design images, graphics, covers, presentations, and all other visual content. They now offer design templates for photo books. It is the easiest way to create a beautifully designed photo book without the headache. Though, this platform is a bit different than let’s say other design software like Adobe Photoshop or InDesign, because of its ease of use. You do not have to have any prior experience in design to create aesthetically pleasing content that looks like it was done by a professional.
Canva offers a wide range of features for free and has a paid upgrade with additional features. But if we are strictly talking about creating a photo book, using the free version is the best option, because there are no additional features between the paid version and the free version. If you are really interested in knowing more about the paid upgrade, check out Canva’s plan comparison page.
Why Should You Use Canva to Create Your Photo Book?
The question really should be “Why Wouldn’t You Use Canva To Create Your Photo Book?”
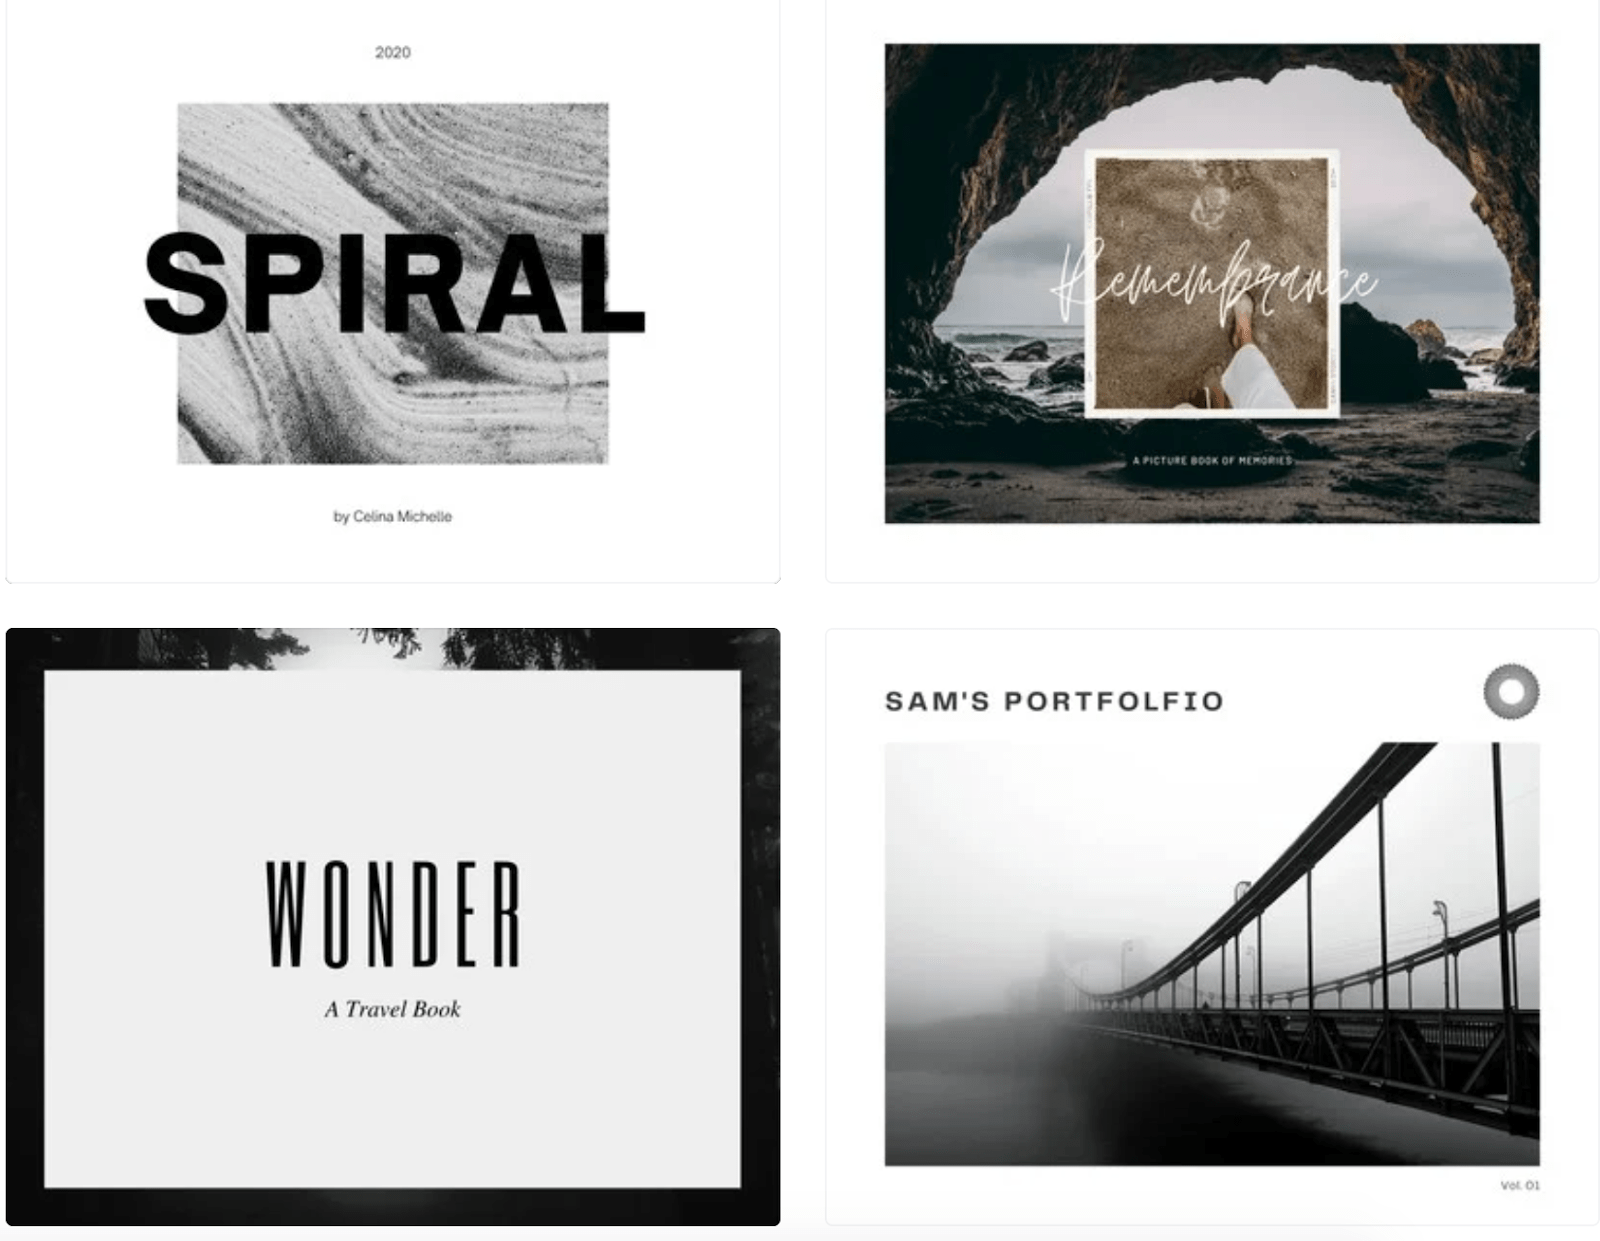
Canva has 75+ templates depending on which photo book size you choose. Each template has a different design to fit the genre that best suits your book. For example, if you are creating a photo book for a wedding you recently were involved in, they have a wedding photo book template. If your photo book is mainly being used to showcase your photography, they have a portfolio template.
I mean really anything you can think of, they probably have it. Canva has really thought of every possible design and brought it to life to make the experience easier for users. Using their templates helps make sure your book fits into the genre that you want. Canva also offers a bunch of free stock images, if you need a few extra pages in your photo book. Being that you probably have all the photos you need to create the book, you might not need this feature.
All in all, Canva is by far the easiest and cheapest platform to create a stunning photo book. So if you’re asking yourself, should I use this platform? Will it be easy enough? Will it have what I need? The answer to all of these questions is YES.
Things to Know Before You Start
Now that I’ve made my case and convinced you all to use Canva to create your photo book, here are some things that you should know before you begin that process:
- Make sure that all the images you upload are between 200 ppi – 600 ppi (pixels per inch) for the best results. If your image resolution is higher than 600 ppi, then it won’t have the best quality when printing. If your image is less than 200 ppi, it may result in grainy or pixelated images when printed.
- The minimum amount of pages Lulu requires to create a photo book is 24. If it is lower than that, the file will not be accepted. So make sure you have plenty of photos before creating.
- Before going to Canva, please visit our website and check out the sizes we offer. That way when you are in Canva you can select a photo book trim size that we offer.
- Edit your photos before uploading and creating your photo book on Canva. Whether that’s in Adobe Photoshop or another photo-editing platform that you use. However, if you do not have another software you could use, that’s okay, just upload the photos onto Canva and edit it straight from there.
- We recommend the 80# premium paper for image-heavy material. The 60# standard paper will not be the best quality and the ink will bleed into the other pages. 80# paper is the way to go when creating a photo book.
- Price out your photo book with our Pricing Calculator so you get a sense of what it can cost you before you start creating.
How to Create Your Photo Book Using Canva
To see what it was like using Canva I created my own photo book to share with you guys, to make it even easier when you give it a shot. I chose the sizing 11 × 8.5 in because we offer that on our website and it is a common choice all around for photo books.
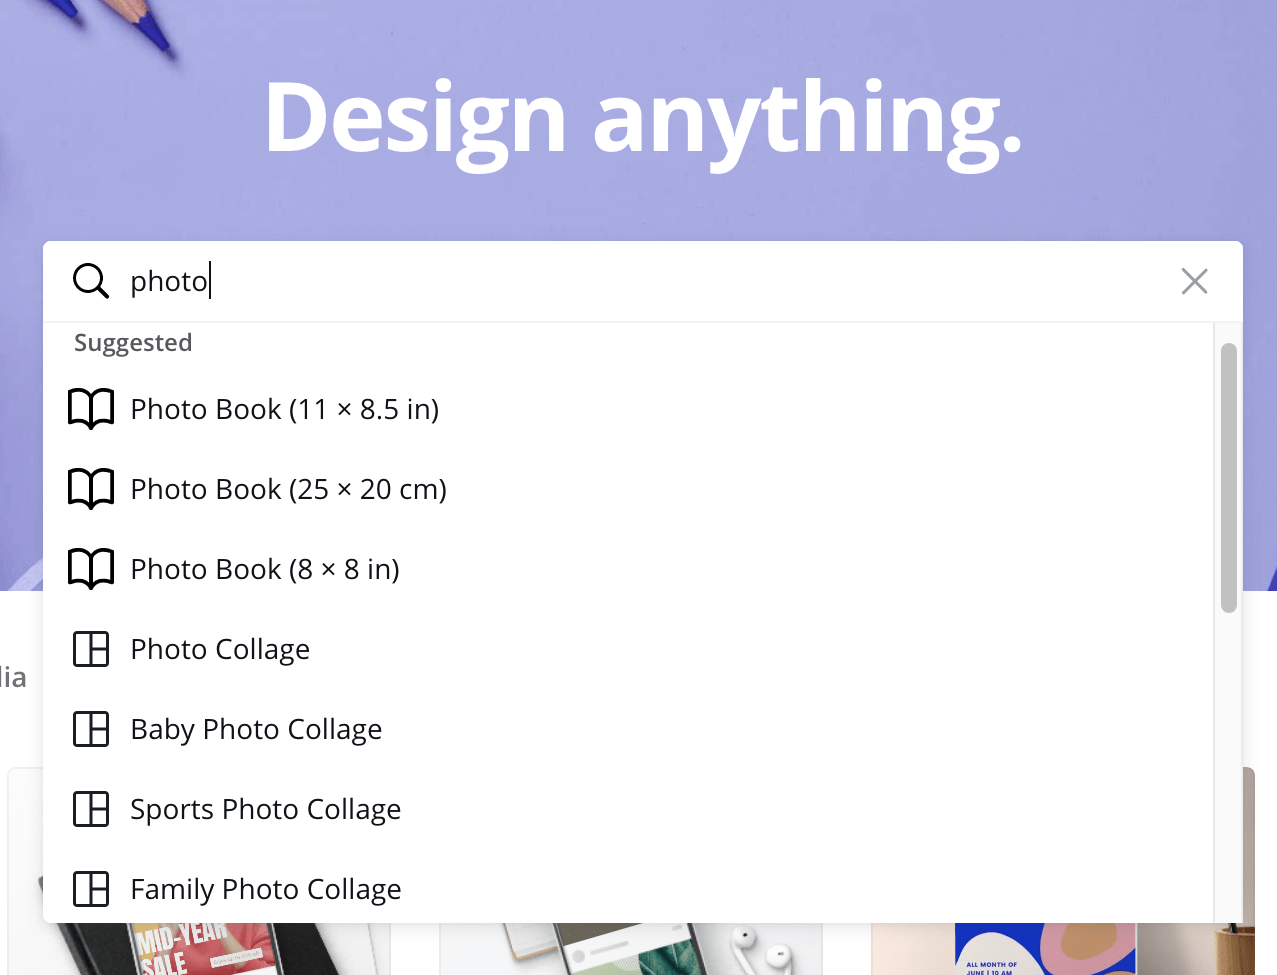
When you create your account and log in, it will automatically direct you to their homepage. In the center, you will see “Design anything.” Type in “Photo Book” and the sizes will appear. Just like in the image below.
Once you choose your size it will give you all of the templates they have at that size. I specifically chose the “By The Beach” template, because my photo book contains all images that have to do with the beach and I personally loved the look of the template.
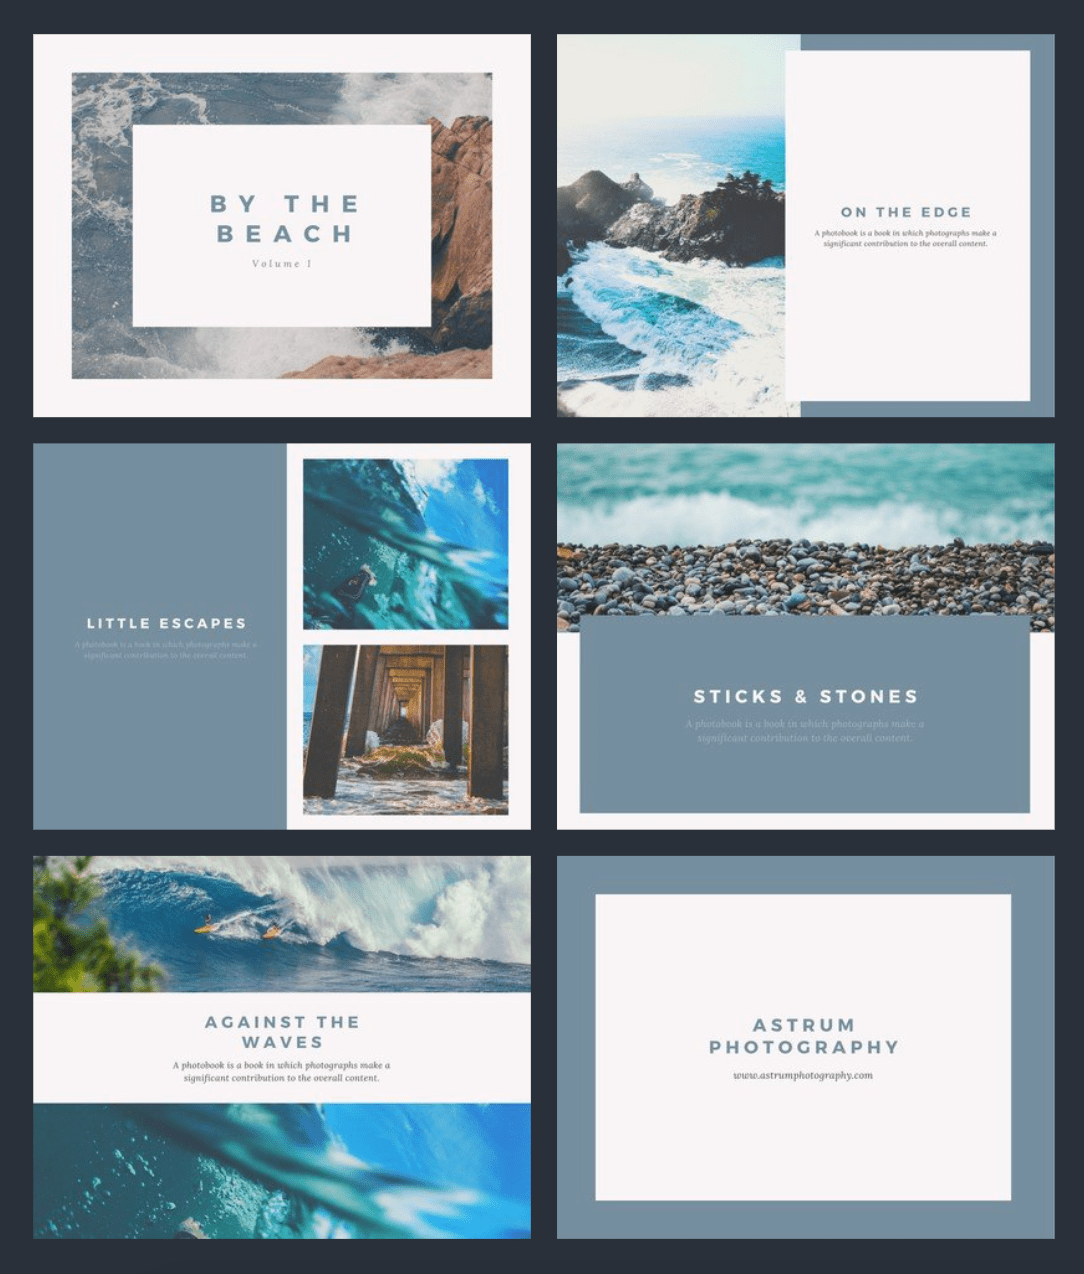
But choose the best template that works for you. And if you don’t like any of the templates you can also choose a “Blank Template” and create your photo book from scratch. Whatever template you decide on, click on it and it will take you to the editor.
Using Canva’s Editor
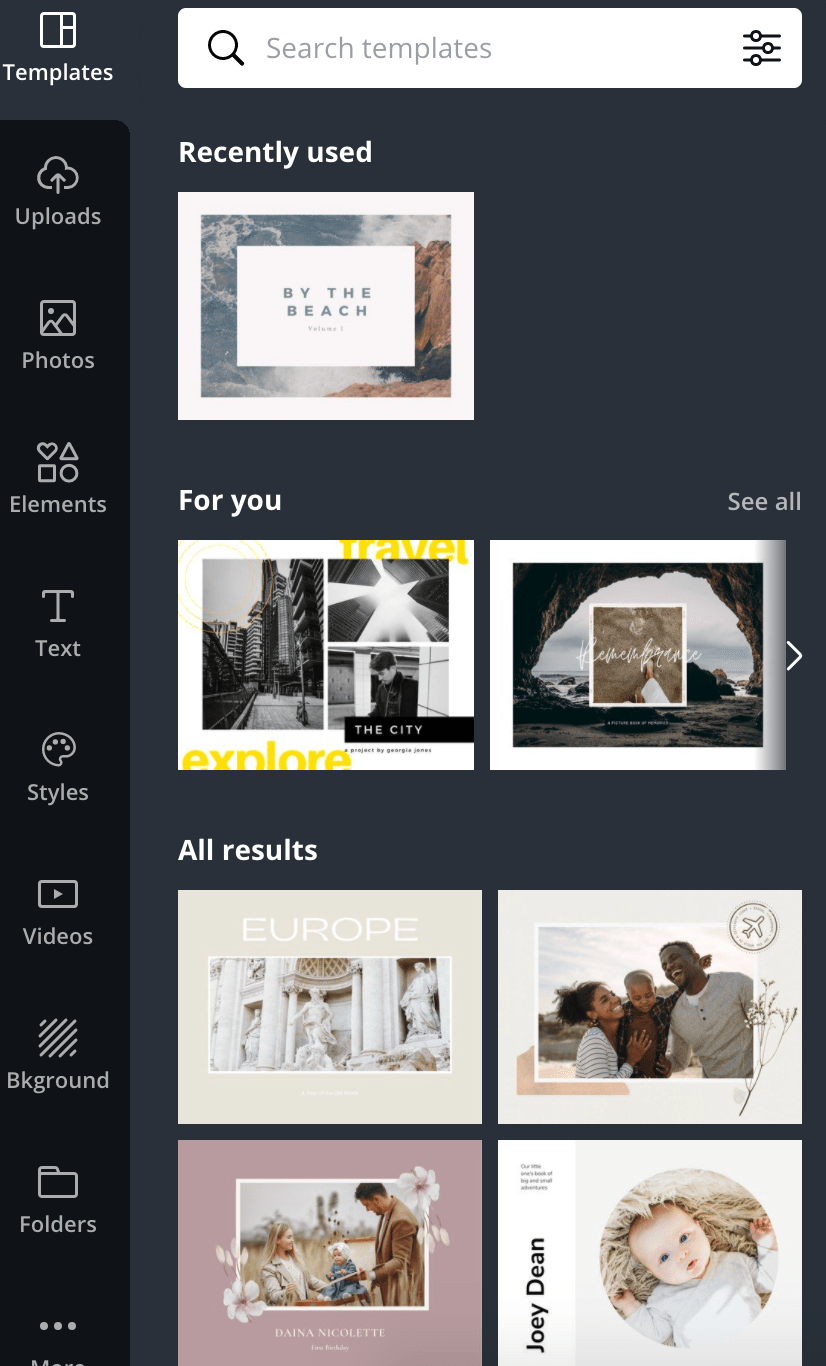
From this picture, you can see the menu: uploads, photos, elements, texts, styles, etc.
You are going to want to click “Uploads” first and upload all of your pictures onto Canva. Once your photos are uploaded you can drag and drop them into the template and Canva will automatically adjust it to fit the template.
However, if the picture in the photo book is cutting off an aspect of the photo that you want in the book, you can double-click on that photo and move it, crop it, and push it back or forward to fit it best for you. You can also enhance your photos with filters and effects, and add text to personalize your photo book. There are so many different styling and typography options to choose from.
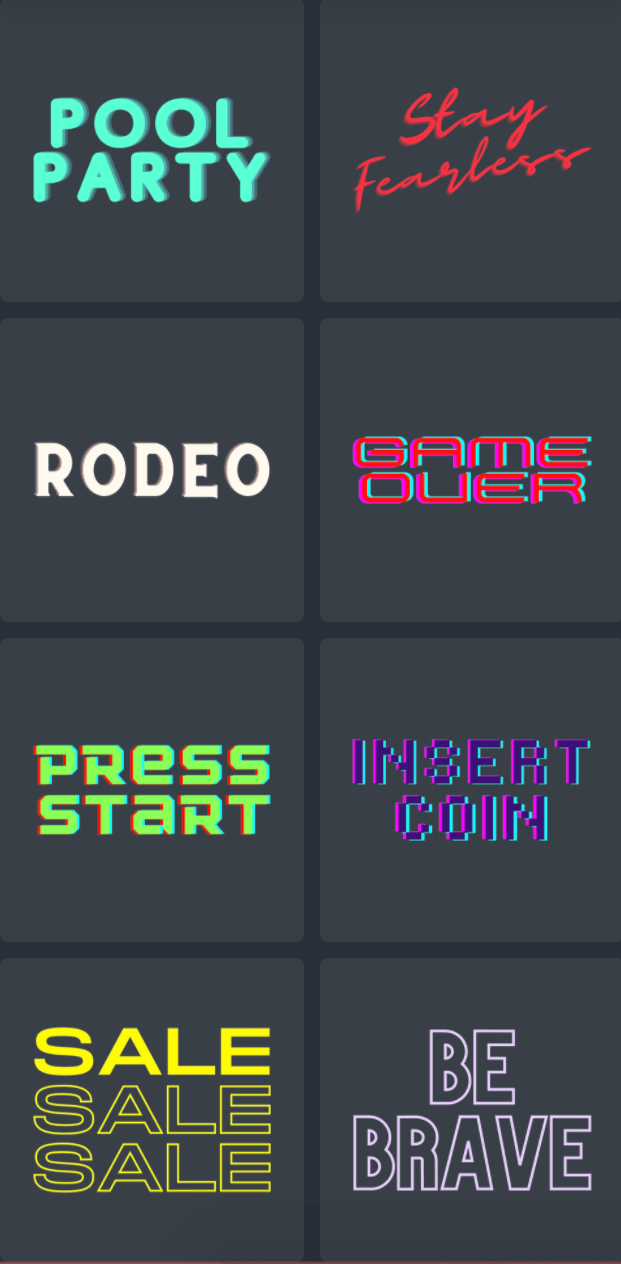
This photo contains only a few options from the many you can choose from.
Furthermore, you can take the template that you chose and switch it up if you want to. In the photo book I created, it had 6 pages of already-made templates, but I wanted to create some variance so I took one of the template pages and made it my own. Below is an example of this:
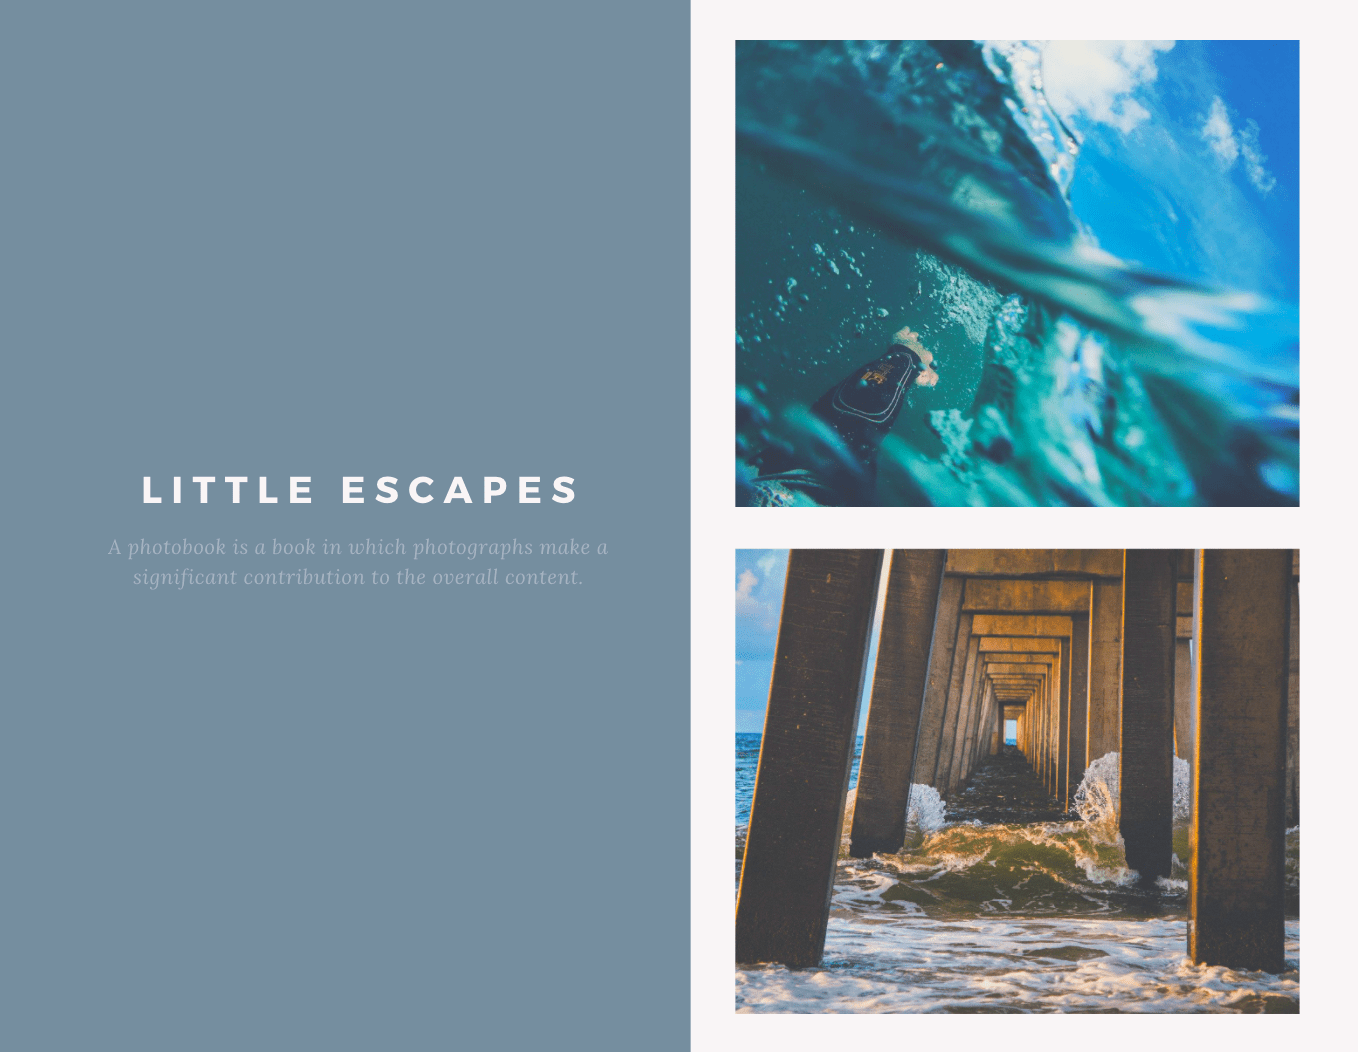
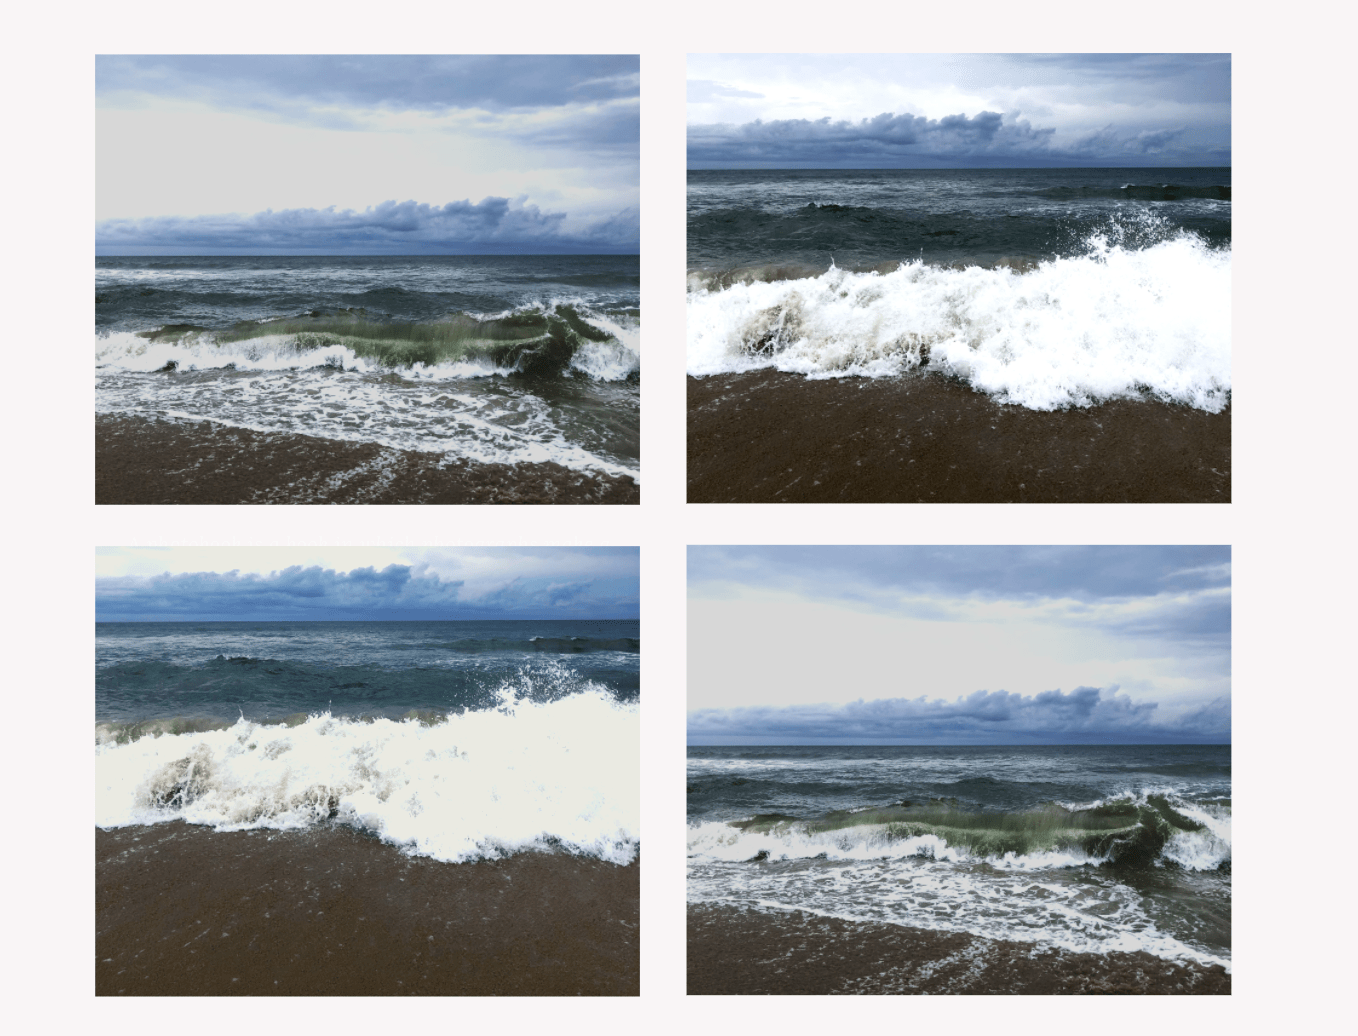
As you can see, Canva sets you up for success and ease, but also allows you to customize, and still hold creative control. The possibilities are endless.
Uploading Your Book To Lulu
Once the photo book is completed on Canva you are going to want to download it and convert it to a PDF. Canva makes this easy by just a few clicks. On top, there will be three buttons. Share, preview, and that icon to download. Click the download button. (Please make sure you choose PDF Print for best results).
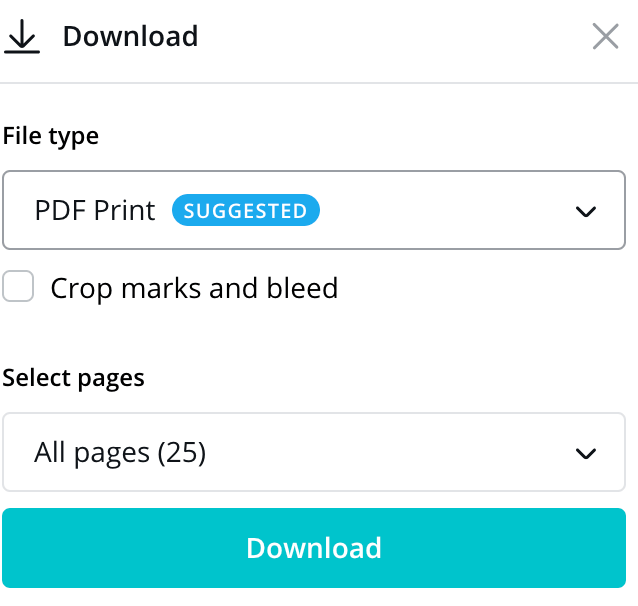
After the interior is done downloading, please log into your Lulu.com account to begin creating your photo book and upload the PDF.
Cover
When the interior PDF is uploaded, our system will ask you to upload your cover. You are more than welcome to create your cover on Lulu.com or on another software or platform. But if you are already using Canva to create your interior, you are also welcome to create your cover on there as well. Here is a great blog post that dives into making a cover on Canva.

Create Your Book
Use Lulu's free templates to easily create and publish your book today.
Review
After uploading both the interior and cover onto Lulu.com, our system will ask you to review the book using the preview tool.
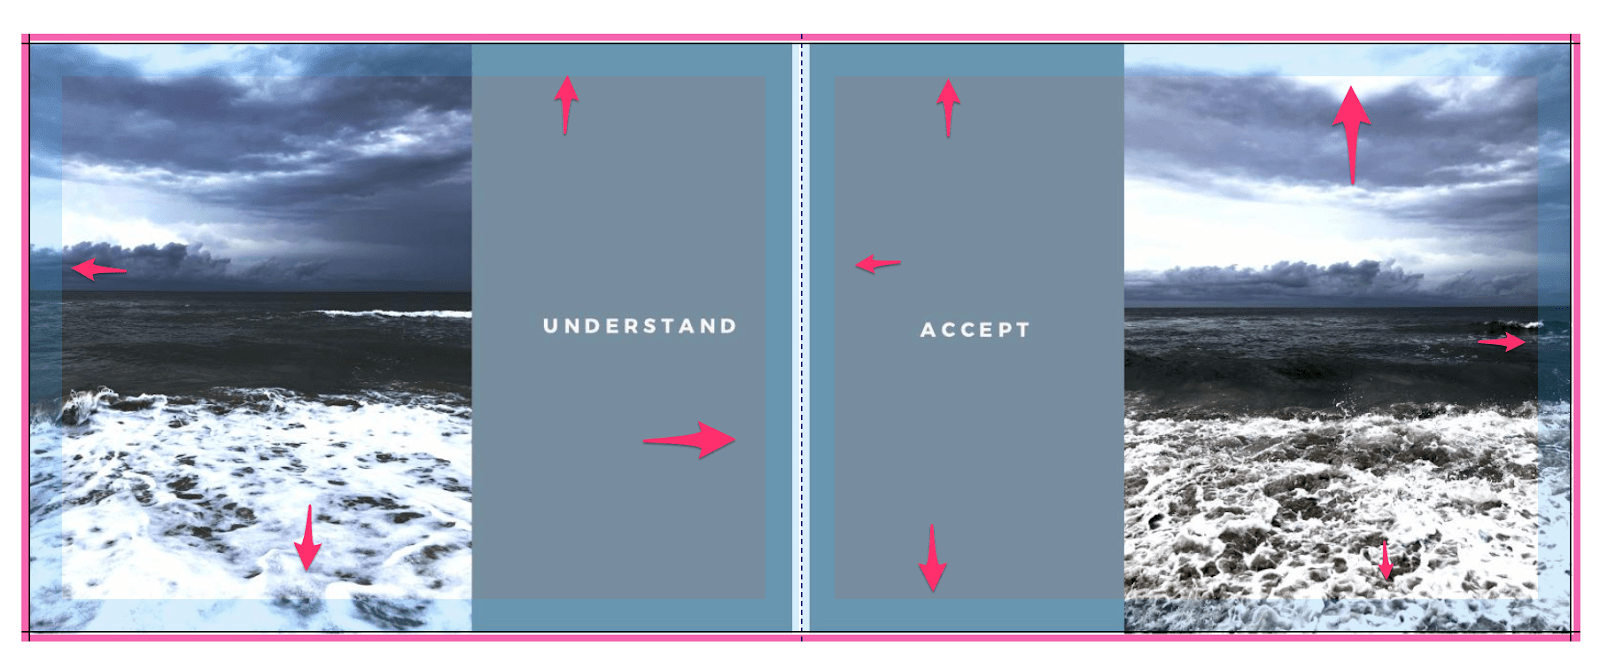
Above is an example of the photo book I created in the preview section of Lulu.com. The arrows are pointing to the margins of the book. Whatever is past that blue line will be cut off. Now for me, I’m okay with it being cut off because it’s taking a slight bit away from the sky and the ocean.
However, let’s say your family member’s face was at the edge of this photo, their face would be cut off. This means you are going to want to keep text and important imagery 0.5″ from the edges. Now once you have reviewed the preview section, and you feel like your book is ready to go, just proceed through the remainder of the steps to complete your book!
Conclusion
Well, there you have it folks, a complete photo book, done in a few easy steps. Canva was a great option for me to create the photo book, and I hope it will now be an option for you.

