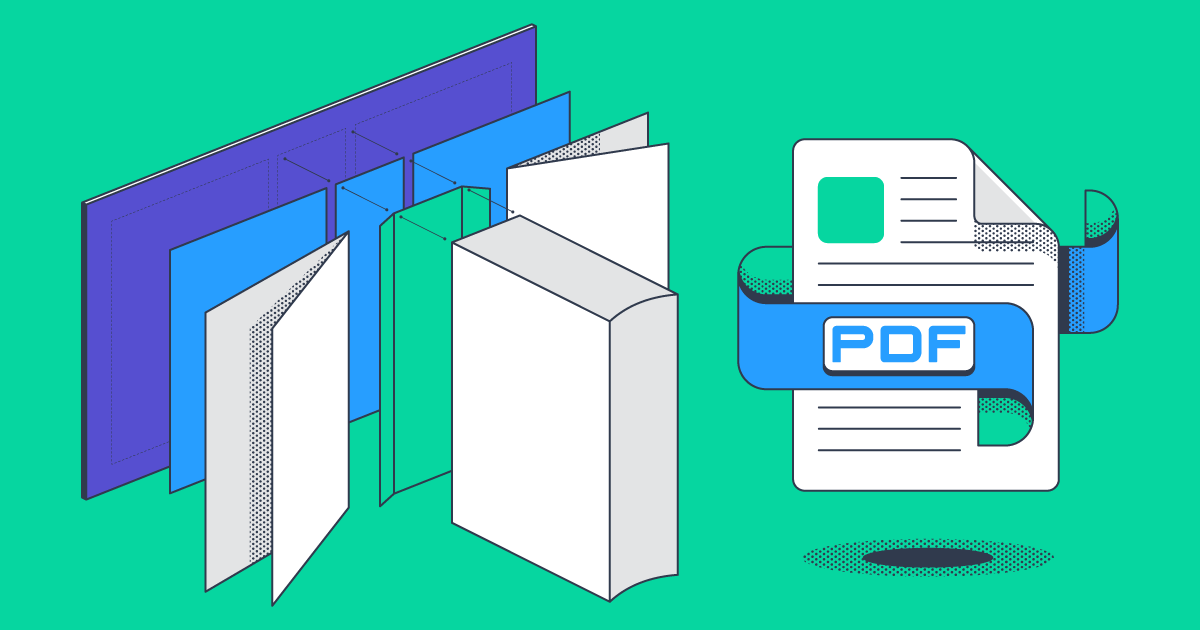
How Books Are Made: From PDF to Printed & Bound
Books! We know them, and we love them—or if you’ve made it as far as opening this post, then you’re probably at least a little bit invested in them. Have you ever wondered how a book gets made today? If you have, you’re in the right place.
Join me for a digital tour of how a print-on-demand book goes from a PDF on your laptop to a bound, physical book in your hands.
Watch: The Life of a Book
Prologue: Terms to Know
Before we get started, let’s review a few keywords and phrases. You can also always reference our Glossary of Publishing Terms for more terms and definitions.
- A Book Block is the printer term for the interior printed pages of a book before it has been bound into the cover. You’ll see a few examples in the pictures and videos below.
- The Binding Type defines the method by which your book is held together. The binding types we’ll reference here include perfect bound paperback, casewrap, coil bound, and linen wrap (hardcover with a dust jacket).
- What is Print-on-Demand? The short answer is Print-On-Demand (POD) refers to the process of printing items as they are ordered, rather than ordering inventory in bulk and fulfilling orders after the fact.
- A book’s Spine is the center of the cover, the edge where the pages are bound together.
- Trim Size, or just trim, refers to the final size of your printed book. Common sizes include Trade Paperback (6 x 9 in), A5 (5.83 x 8.27 in), US Letter (8.5 x 11 in), and many more depending on the type of book!
Chapter 1: From PDF to Book Block
For many of us, when we think of a printer we think of the personal or professional use printers we’ve been fighting with for years, printing off one or two pages at a time (double-sided, if you’re lucky) from a ream of 8.5 x 11 inch paper.
So imagine walking onto a bindery production floor and seeing these:
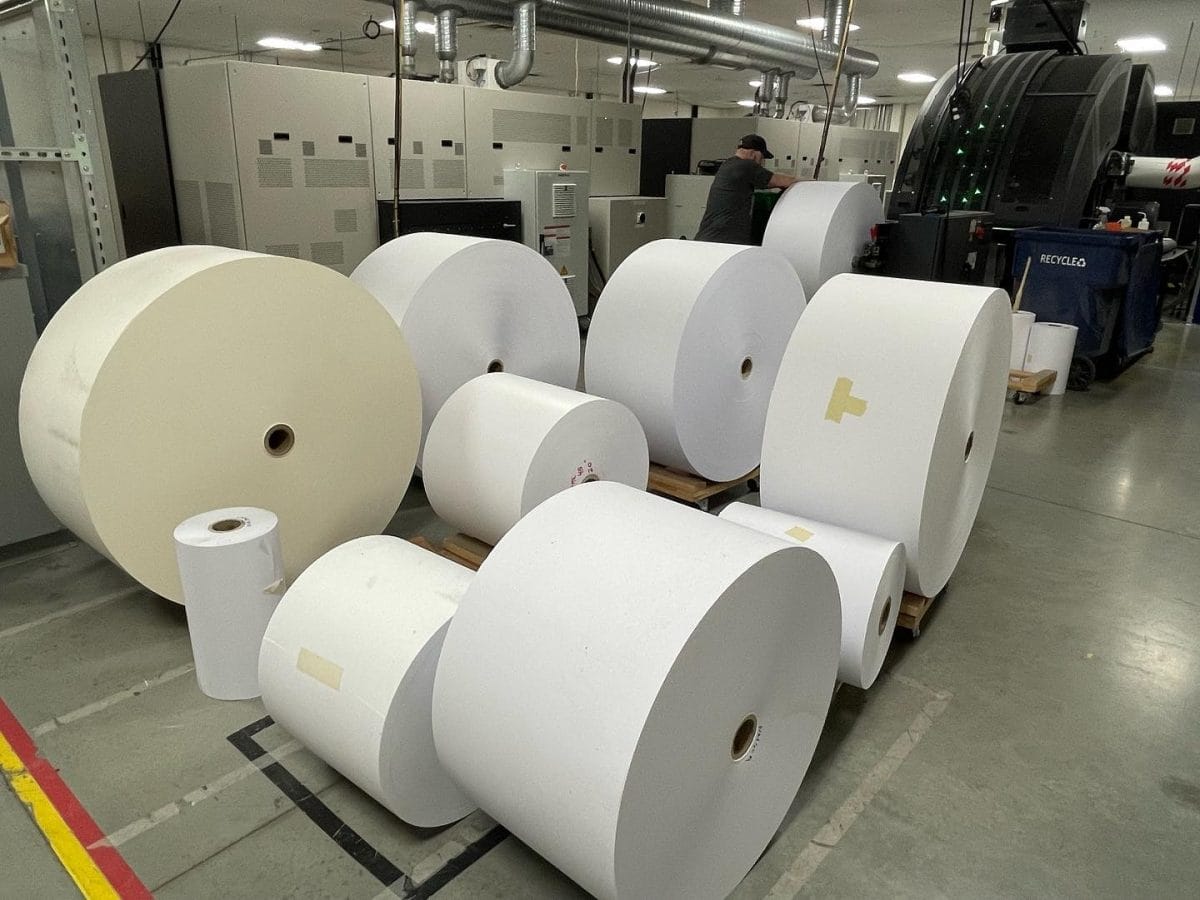
These massive rolls of paper are the first step to printing your book! Each of these rolls gets loaded into one of several printing presses (along with enormous drums of ink!) that can rapid-fire print every single page of your PDF.
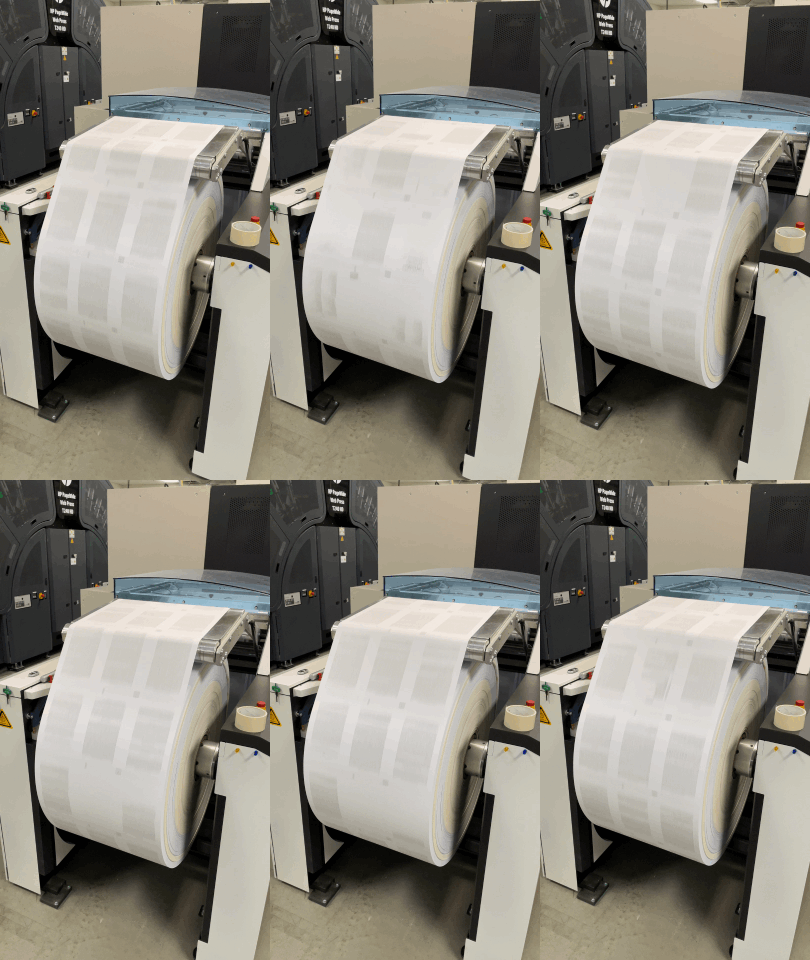
Multiple books can be printed on the same roll—they’ll all be cut up into their individual book blocks once the printer is done. In the meantime, the paper gets wound back up until it’s time to cut the pages:
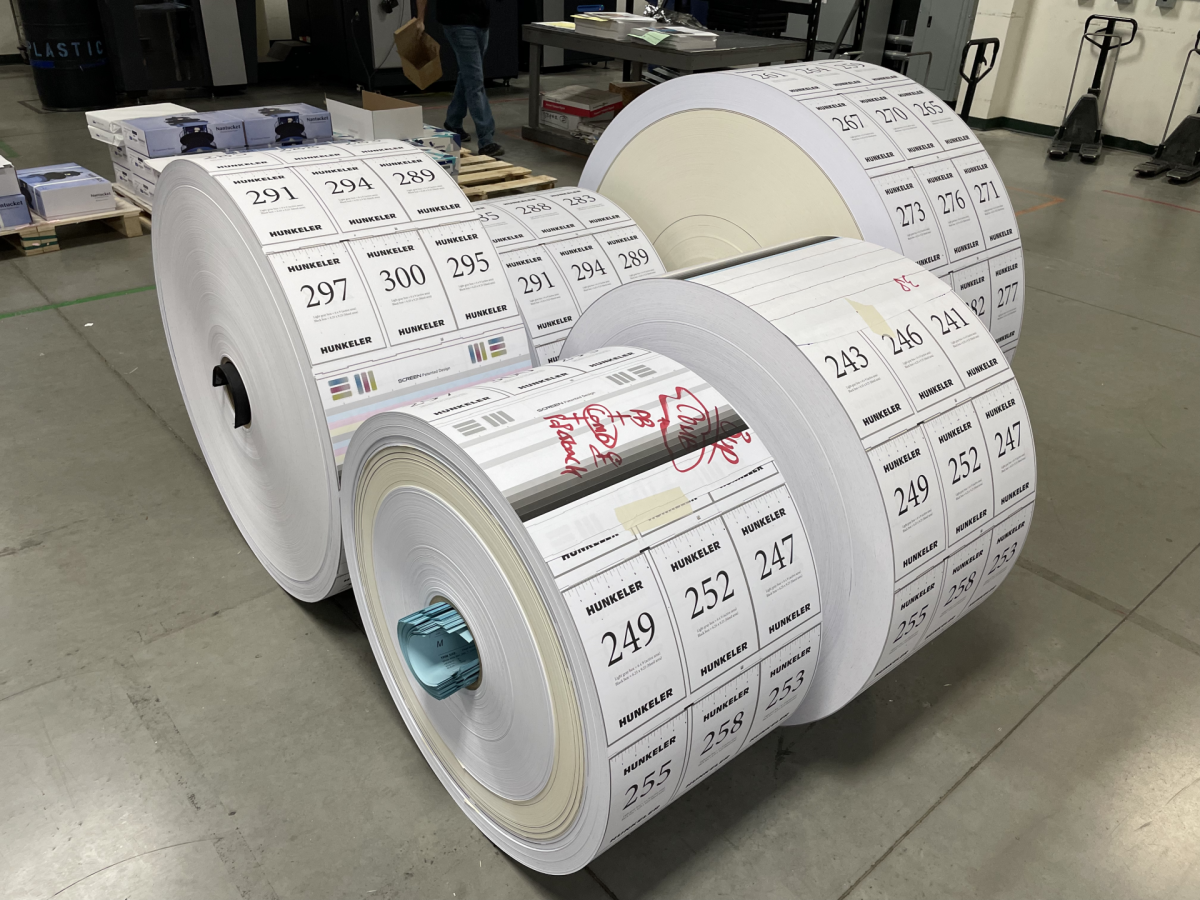
After the pages have been printed and the rolls are ready to go, they’re moved to the next machine in the assembly line (carefully! These rolls are super heavy), which will cut and collate them into the first stage of a book block.
The blue paper sticking out of the front roll in the photo above are data sheets with all the essential details for each book printed on that roll. As each part of the book is made and assembled those details are referenced to ensure the interior pages are trimmed to the correct size, bound properly, and matched with the proper cover!
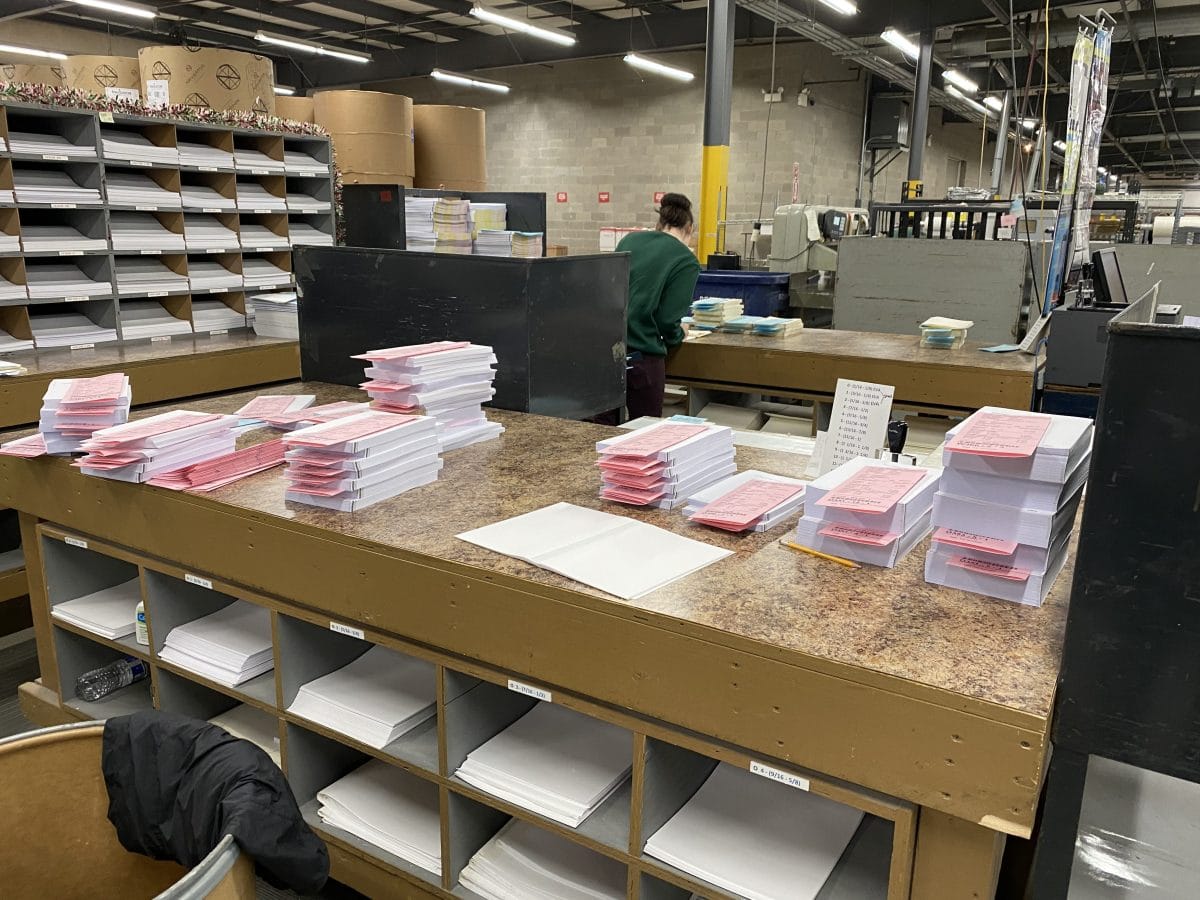
And there you go! We’re finally starting to get somewhere, right? These at least look a little more like what you’d expect a book to look like, although they’re still loose sheets of paper. It’s time to bind those pages together.
Chapter 2: Binding Your Book
Binding a printed book’s pages together is one of the most important steps in the book printing process. If it’s not done correctly, pages will fall out, and your book may even fall apart entirely.
Most books are bound by applying a thin strip of material to one edge of your pages, and then sealing it with glue. The glue is cured (a process that forces the adhesive to immediately crystallize, forming a strong bond to hold the pages together), and the end result is a neatly bound book!
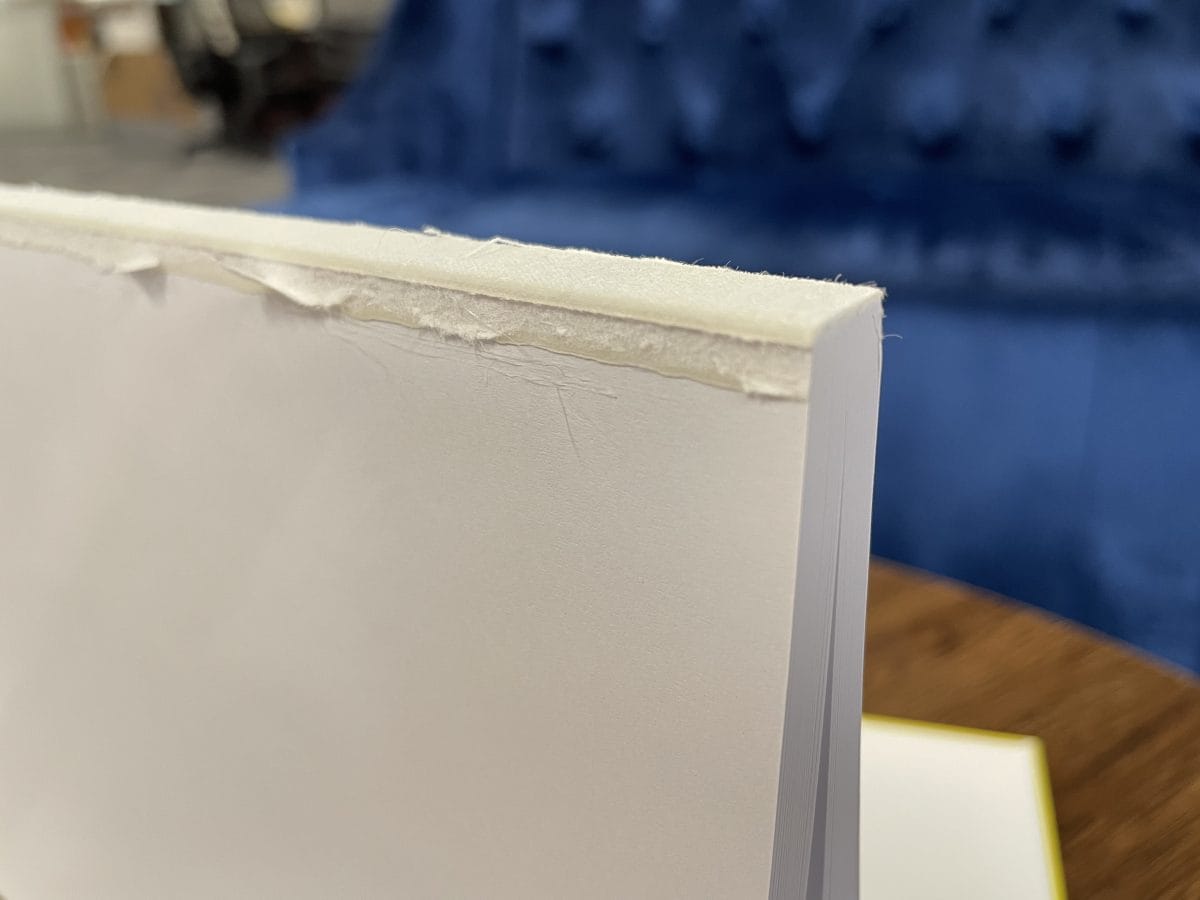
Yes, I ripped apart a book for this blog post. It was surprisingly hard, the binding held strong even after I took a knife to it! Do you see the lining on the spine? That’s the material and glue that creates that perfect binding.
Loose book pages are loaded onto this conveyor belt and fed into a machine that applies the protective material and the glue and then cures them all together to create the binding. In some cases, depending on the machinery available, the book is then cut down to its correct trim size. When the book block comes out the other end of the conveyor belt it’s ready to be matched with its cover!
A noteworthy exception to this type of bookbinding is Lulu’s coil bound book option. The whole point of a coil-bound book is to not have the pages attached by a spine, but instead be loosely bound with a coil, right? Coil bound books have holes punched in the left margin before the appropriate size coil is wound into place.
Chapter 3: Creating the Perfect Book Cover
Now that the interior pages are bound and trimmed, we have a real, finished book block. This means we need to add your book cover! There are a few different cover types you can get with Lulu—a paperback cover, a casewrap cover, and a linen wrap (that’s the hardcover book with a dust jacket) cover.
Paperback Book Covers
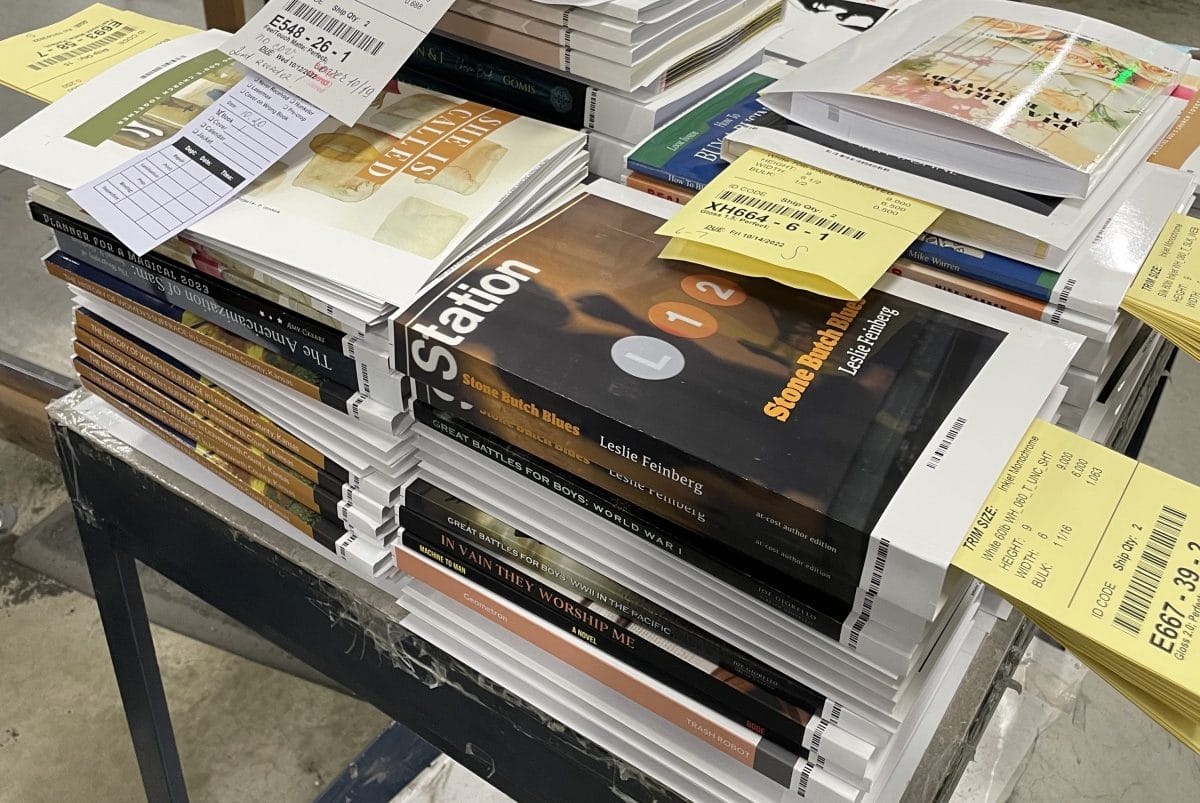
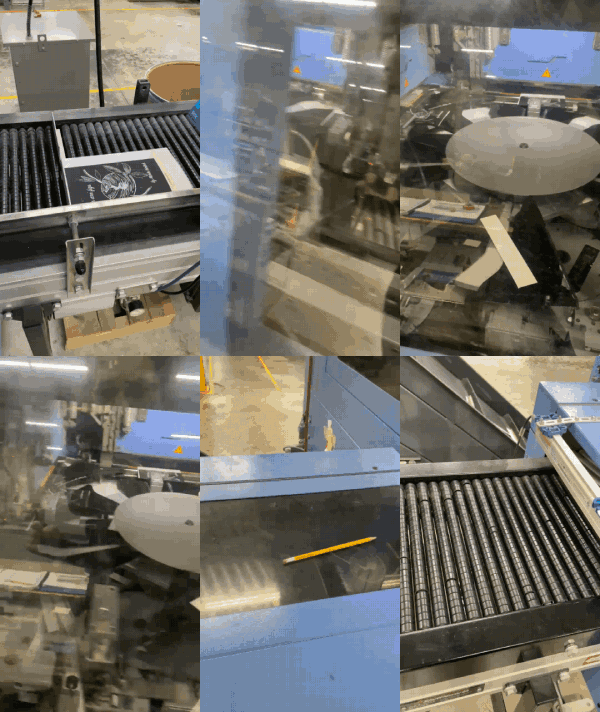
Paperback cover art is printed directly onto flexible cardboard that will be attached to the book block. In the picture below, you can see a pile of book interiors that have been matched up with their covers (by hand!).
From here, they’ll be run through another machine that will attach the cover to the spine in a similar process to the book binding. You may also notice that these covers all have white trim around the cover art. Once the cover has been attached, it’ll be trimmed down to match the book block.
This video is a little hard to see (sorry!), but hopefully, you can still catch a glimpse of the process happening inside the machine to attach and trim the cover. At the very least, you can see the difference between the before and after!
Casewrap Book Covers
Creating and attaching a casewrap cover to a book block is a multi-step process—first, you need to assemble the cover! Remember that book I ripped up earlier, so we could see the spine? That was a casewrap book—here’s what the cover looks like when separated from the book block:
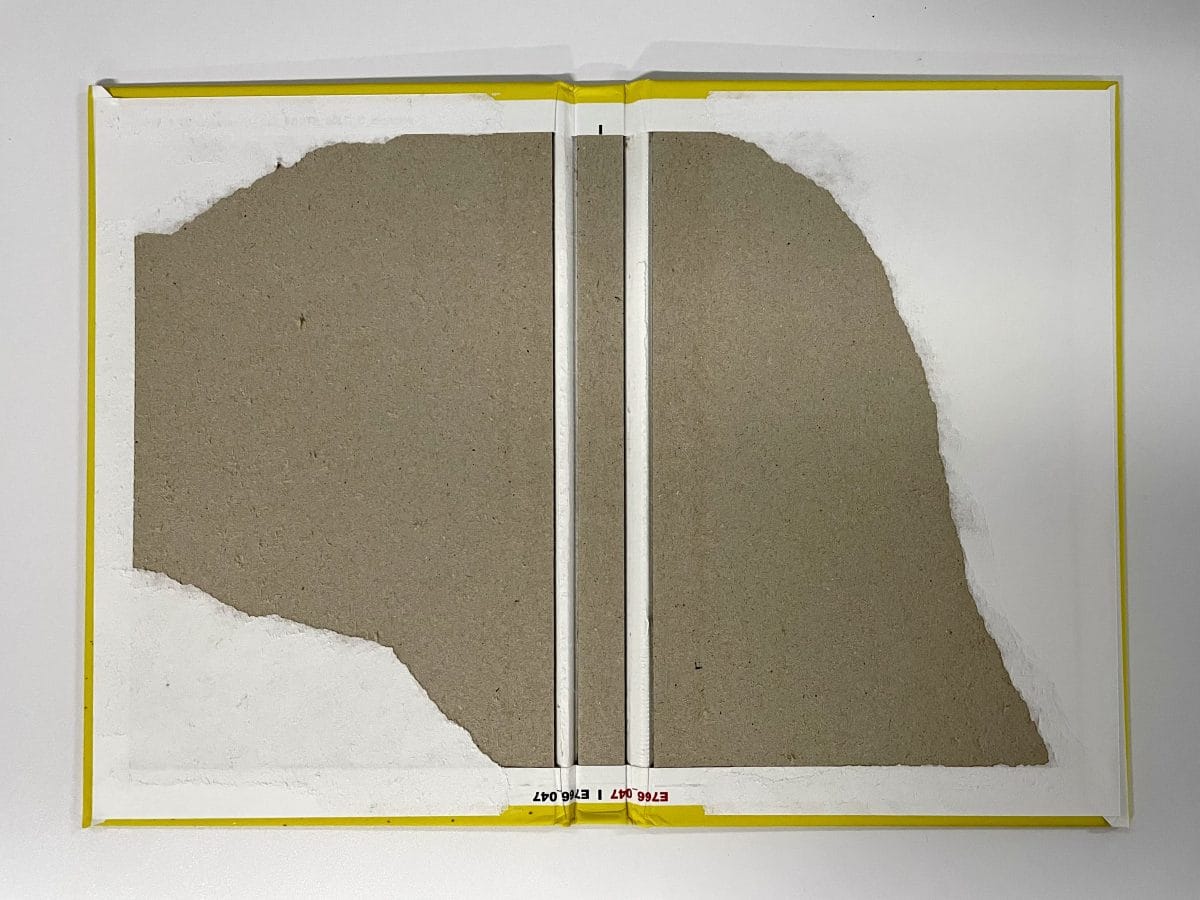
The cover art is printed on oversized paper that is then applied to three pieces of sturdy cardboard that make up the front cover, spine, and back cover. The excess paper is then folded down to create that perfect wrap-around edge on all sides.
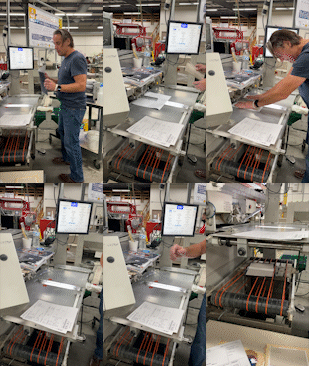
Once the cover is ready, it needs to be attached to the book block. When a bulk order is being fulfilled, and all the books in a given batch are the same size, there is a machine that can help bind the cover to the book.
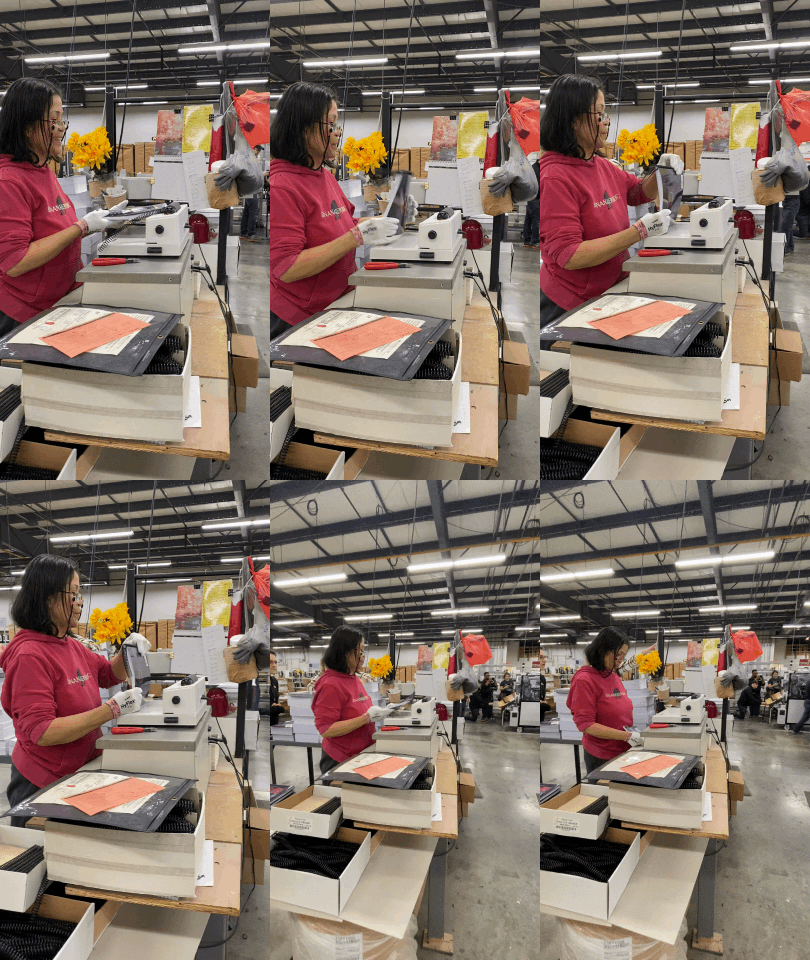
When fulfilling orders for individual books, as most print-on-demand services do, the process is a little more manual. In this first video, you can see the automated process of adding a book block to a machine programmed to attach the same casewrap cover:
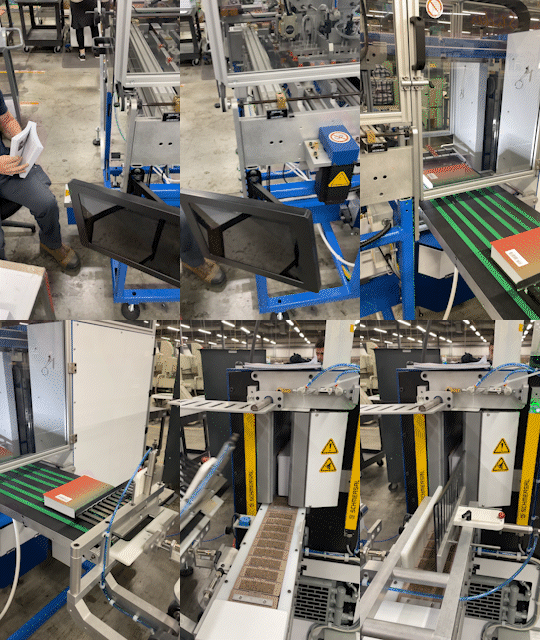
And here, you can see the same process done manually on a book-by-book basis:
Chapter 4: Signed, Sealed, Delivered
Once the cover has been attached your book is ready to ship!
Orders are wrapped in protective shrink wrap to stop the books from getting banged up inside the box during shipment, and the whole order is boxed up and ready to go!
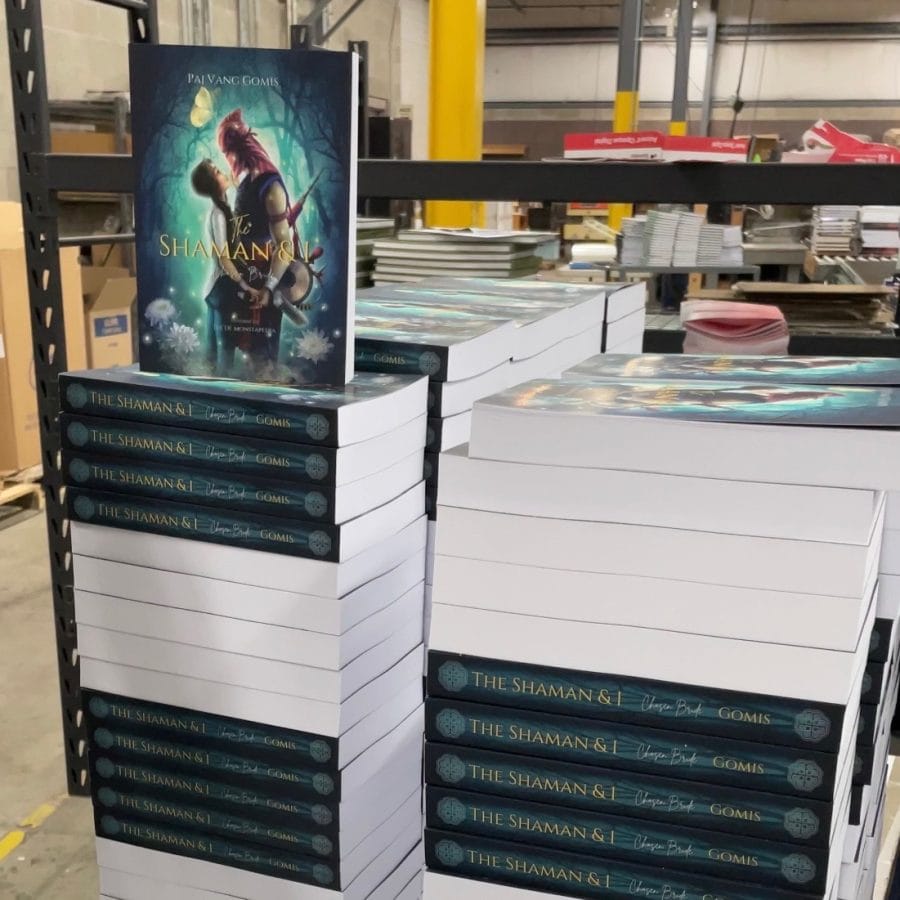

Paperback copies of Lulu Author Paj Vang Gomis’ new book The Shaman & I!
And there you have it! Your book went from being a thought in your head to a doc on your computer to a printed and bound book in your hands. The next time you order a book, you’ll know how that book was printed, bound, and prepared for you to enjoy!

