Word to PDF Conversion Guide
If you’re self-publishing a book using Microsoft Word, you have to know how to convert Word to PDF files. Having a consistent and accurate PDF to upload for printing is a necessity. We often refer to this as a print-ready file.
Thankfully, Word makes it pretty easy to convert their DOCX files to PDF for you.
Creating a Print-Ready PDF with Word
Every version of Word since 2014 offers a simple “export to PDF” option. Let’s look at the basic DOCX to PDF conversion using both Mac and PC versions of Word. You can also check out Microsoft’s instructions on their help center.
Word to PDF Conversion for Mac
Go to File and select Save As…
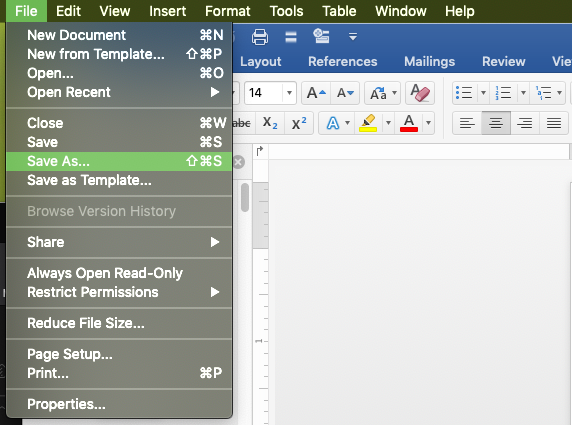
The Save As… menu will open. Give your file a title and select the location to save. Then select PDF from the File Format menu. Be sure to select Best for printing.

Your DOCX to PDF conversion will take a moment. By selecting Best for printing, Word will preserve your image resolution and provide font embedding for fonts you own.
Word to PDF Conversion for PC
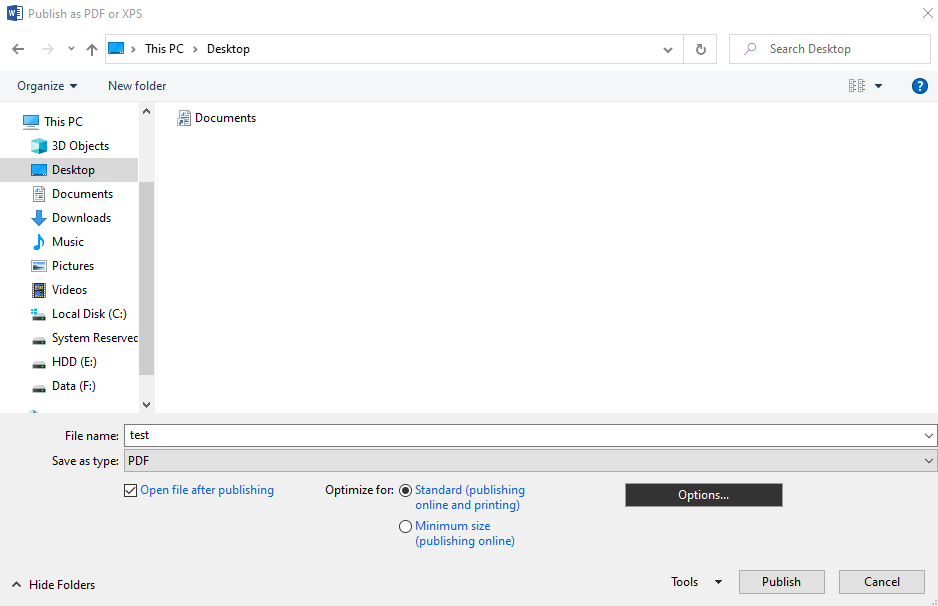
Go to File and select Export. Then select Create PDF/XPS Document.
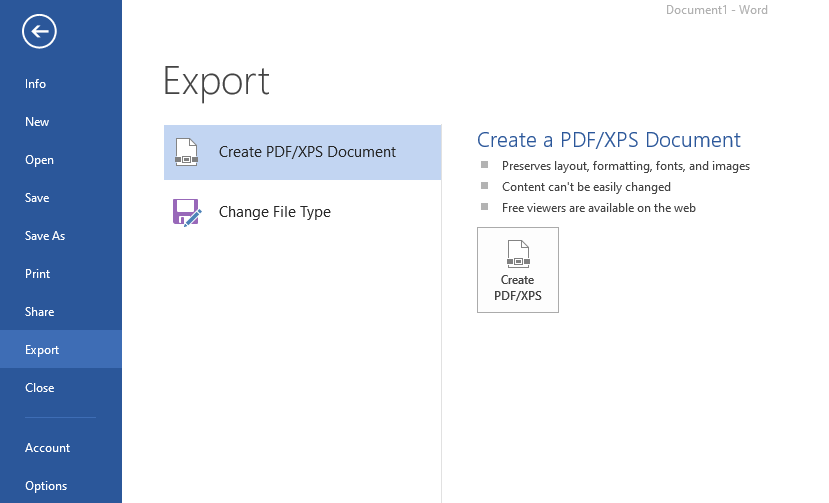
This opens the Publish menu with options to select a location to save to and Standard or Minimum Size printing. Always select Standard to get Word’s best PDF format presets for your file.

You can also see additional options using the Windows version of Word under the Options… menu. Most of these settings don’t need to be adjusted.
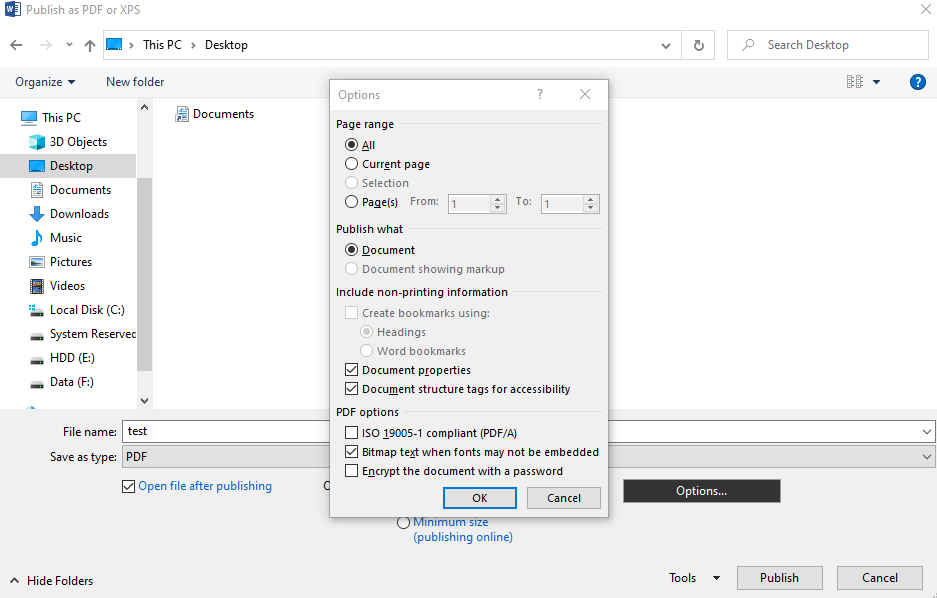
Once you’re satisfied, click Publish and your DOCX to PDF conversion will begin.
Page Size in Word
There is one lingering quirk about your Word files. It goes like this: Word always defaults to an 8.5 x 11-inch page size. You should get the page size set before you do any of the more complex formatting. Unless you want to print an 8.5 x 11 book, you’ll need to correct the page size to create a print-ready PDF.
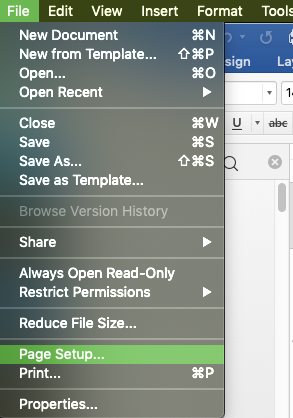
The process for updating page size is the same for Mac and PC, so we’ll cover it quickly for both. Go to File and select Page Setup…
Select a Custom Size to set your page dimensions. Remember, you’ll need to add a bleed margin to your document.
You must create and save a custom size with a unique name. If you do not, Word may revert your page size to its default (8.5 x 11 in) when exporting your PDF. We’ll cover how to verify your PDF page size below.
What Makes a PDF ‘Print-Ready’?
We created an in-depth guide with lots of details about creating a PDF, including file specifications, colors, and more. You can download it for free right here:
A print-ready PDF will be an Adobe PDF with images at the correct resolution for your printer (for Lulu and most others that’s 300dpi), embedded fonts, and flattened layers. If you’re creating your file with MS Word, flattening layers shouldn’t be a concern, as Word appears to flatten them automatically when exporting.
Fonts will embed if you own them. That includes the fonts that come with Word and any you’ve purchased and added to your library. The specifications may vary with your printer, but PDF documents want to be a single-layer, high-resolution file.
How to Check Your PDF Specs
Most computers come with Adobe Acrobat Reader installed. This free software is great for reading PDFs, but it also provides some basic information about the file that can help you know you’ve made a print-ready PDF.
After exporting from Word, open your PDF in Adobe Reader and navigate to Files > Properties.
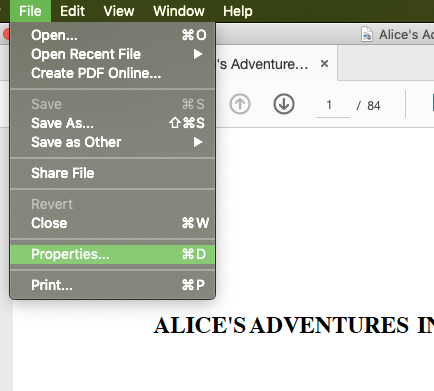
The PDF properties will include information about the file name, specifications, and other useful data. Start on the Description tab and verify the page size.

If your Word document is correct, you will see the final size for the PDF. Your PDF page size determines the page size of your book. If the PDF’s page size does not match the size you want for your book, you’ll need to go back to Word, resize your file, and export a new PDF.
Next, look under the Fonts tab.

See that (Embedded Subset) following the font? That means fonts are embedded in the PDF.
Word to PDF Converters
Always adhere to our PDF Creation Specs when exporting your PDF. You should also note that Word is built to handle simple page layouts. If you’re creating a more complex book, you will want to use Adobe InDesign or Affinity Publisher (an inexpensive alternative to InDesign with a wide range of layout options).
No matter how you create your file, be sure you carefully review your print-ready PDF before uploading. Look at the layout, and page size, and check for embedded fonts so you can publish and print successfully!